


Installing a Solar Plant at Home in 2025
Installing a solar plant at home in 2025 is more efficient and cost-effective than ever, thanks to advanced solar panel technology, improved battery storage, and government incentives. With decreasing installation costs and…

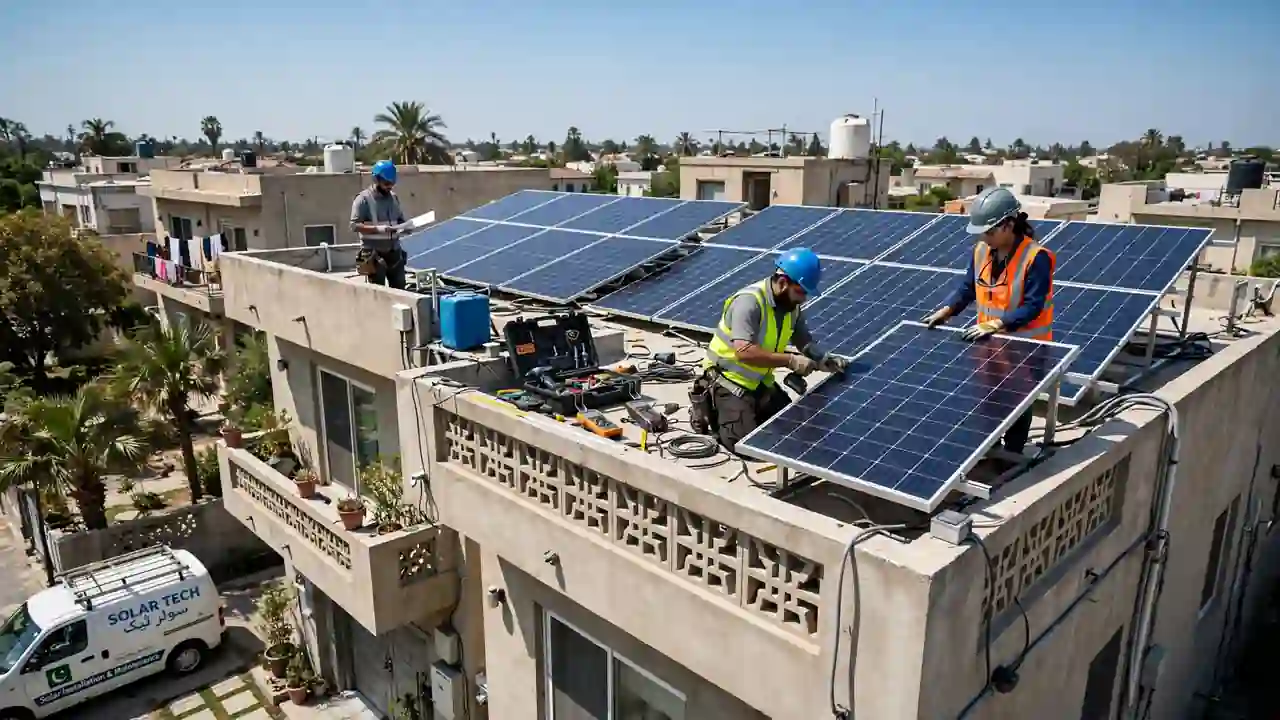
Every week, a family in Pakistan decides to go solar, and every week, some of them get it wrong. Not because solar is complicated, but because nobody gave them the steps in order. They buy panels before choosing an inverter. They hire an installer before sizing the system. They discover net metering exists only after the installation is done.
At SunTech Mall, we supply the equipment for hundreds of home solar installations across the country. We see which projects go smoothly and which turn into expensive lessons. The difference is almost never the equipment brand. It is the order of decisions.
Here is the fear every family feels: solar costs serious money, and you only get one chance to design it right. Undersize it and you still pay big grid bills. Oversize it and you wasted money on capacity you never use. Hire the wrong installer and the system underperforms for 20 years.
In this guide, I will walk you through installing a solar plant at home in the correct order, from first assessment to flipping the switch. Follow these steps and your installation will be one of the smooth ones.
Let us start where every good installation starts: with your electricity bill, not with a solar panel.
A Quick Note Before You Trust This Guide
Rules, tariffs, and equipment prices change over time. The process in this guide is stable, but always verify current net metering procedures with your distribution company and current prices with suppliers before committing money. A guide teaches you the method; local verification gives you the numbers.
In This Guide: What You Will Be Able to Do
- Assess your home’s solar potential correctly
- Calculate the right system size from your bills
- Choose panels, inverter, and batteries in the right order
- Find and vet a competent installer
- Understand the net metering application process
- Know what installation day should look like
- Avoid the expensive sequencing mistakes most families make
Step 1: Read Your Electricity Bills
Your last twelve months of bills are the most valuable solar planning document you own. Do not skip this.
Find your average monthly units (kWh). Add up twelve months and divide by twelve. This single number decides your system size more than anything else. A family using 400 units a month needs a very different system from one using 1,200.
Note your seasonal pattern. Summer bills with air conditioning can be triple winter bills. Size for your reality: many families size for the high months and enjoy surplus in winter, which net metering turns into credit.
Check your sanctioned load. Your electricity connection has a sanctioned load in kilowatts. Your solar system’s export capacity relates to this figure in net metering rules. Know it before you plan.
Walk through your home at 7 PM. Note everything running simultaneously: fans, lights, fridge, TV, motors. This evening peak decides your inverter size, while the monthly units decide your panel count. Both matter.
Step 2: Assess Your Roof
Measure the usable, shade-free area. Not the whole roof, just the part that gets unshaded sun from roughly 9 AM to 4 PM. Chimneys, water tanks, neighboring buildings, and parapet walls all steal space and cast shadows.
Check the roof’s direction and tilt. In Pakistan, south-facing surfaces are ideal. East-west arrangements work with some loss. Flat roofs need tilted mounting structures, which is normal and standard practice.
Verify structural strength. Panels, mounting frames, and ballast add real weight. Most concrete roofs handle it easily, but get a professional opinion for older or unusual structures. This check costs little and prevents disaster.
Plan for cleaning access. Dust cuts output significantly in Pakistan. Leave walkways between panel rows so someone can clean them regularly. A system nobody can reach for cleaning is a system that slowly underperforms.
Step 3: Size the System
Here is the straightforward method professionals use.
Panels from monthly units: Divide your average monthly units by 30 to get daily units. In most of Pakistan, each installed kilowatt of panels produces roughly 4 to 5 units per day on average across the year. So daily units divided by 4.5 gives a rough panel capacity in kilowatts. A 400-unit home lands around 3 kilowatts; a 900-unit home around 6 to 7 kilowatts.
Inverter from evening peak: Size the hybrid inverter to your simultaneous evening load with about 20 percent headroom, as explained in our component guides and inverter articles. The inverter and panel sizes do not have to match exactly; the inverter follows the load, the panels follow the energy.
Batteries from backup needs: Decide how many hours of backup you need during outages and which appliances must run. Battery sizing follows from that answer. Lithium batteries cost more but last far longer and use their capacity better than lead-acid.
Step 4: Choose Equipment in the Right Order
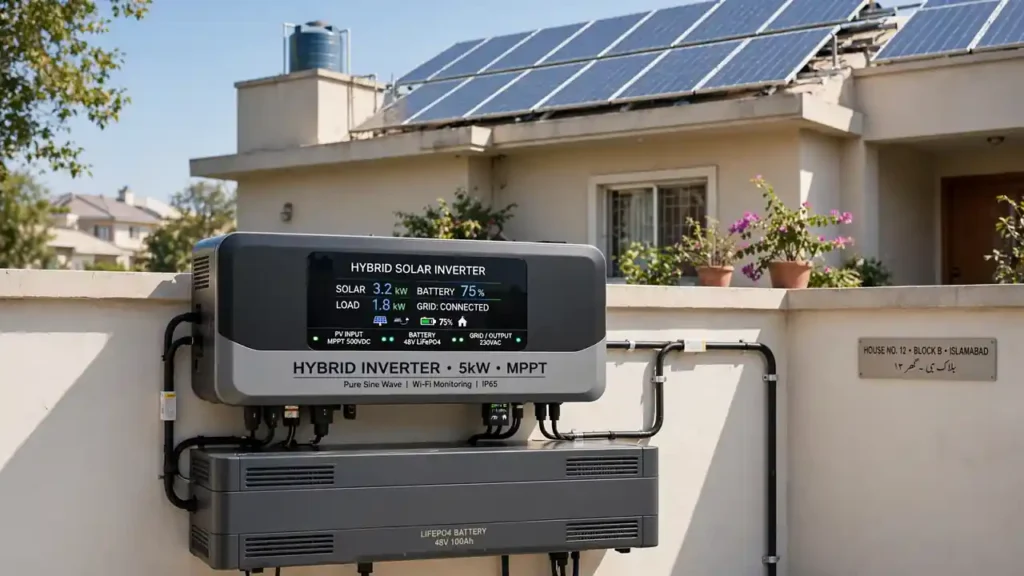
First the inverter, then everything else. The hybrid inverter is the system’s brain. Its specifications, MPPT voltage range, maximum PV input, and battery voltage, constrain every other choice. Choose it first.
Then the panels to match the inverter’s MPPT. Check the datasheet: panel string voltage must sit inside the MPPT range, and total array power must respect the maximum PV input. This is where datasheets earn their keep.
Then the batteries to match the inverter’s battery input. Voltage must match, and for lithium, the BMS communication should be compatible.
Insist on datasheets for everything. Panels, inverter, batteries: no datasheet, no purchase. This single rule filters out most bad deals.
Browse matched equipment in our solar energy collection to see how the pieces fit together.
Step 5: Find a Competent Installer
The installer matters as much as the equipment. A great system installed badly performs badly.
Ask for previous installations you can visit. Any serious installer has happy customers. Go see the workmanship: cable routing, structure welding, earthing, and labeling.
Ask about earthing and protection. Proper earthing, DC and AC breakers, and surge protection are not optional extras. An installer who dismisses them is an installer to avoid.
Get the design on paper. Panel layout, string configuration, cable sizes, and protection devices should be documented before work starts. Verbal promises evaporate; drawings persist.
Clarify the scope in writing. What exactly is included? Structure, wiring, breakers, earthing, net metering assistance, monitoring setup? Surprises after payment are the most common complaint in solar installations.
Bonus Tip: The cheapest quote is rarely the cheapest installation. A quote that is far below others usually means thinner cables, weaker structures, or missing protection. Ask every bidder to itemize, then compare honestly.
Step 6: Understand Net Metering
Net metering lets your export surplus electricity to the grid for credit. Here is the process in general terms.
Apply through your distribution company. The application goes to your local DISCO with your system details and installer credentials. There are inspections and a bidirectional meter installation involved.
Use an experienced installer for the paperwork. Installers who have done net metering applications before know the forms, the sequence, and the common pitfalls. This alone is worth choosing an experienced company.
Verify current rules before you count on them. Tariffs and procedures evolve. Confirm the current buyback terms with your DISCO so your financial calculations use real numbers.
Step 7: Installation Day and After
Structure first, and it must be solid. Hot-dip galvanized structures resist rust for years. Watch the welding quality and the anchoring. This frame holds your investment through storms.
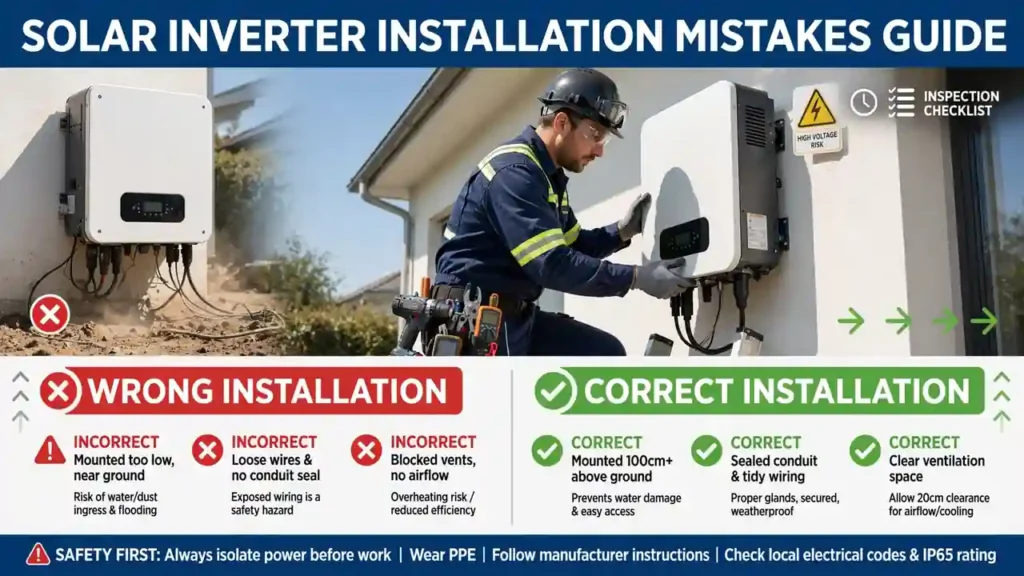
Cable routing should be neat and protected. DC cables in conduits, proper connectors, no sharp bends, clear labeling. Messy wiring is not just ugly; it is a future fault.
Commissioning means testing everything. Every string’s voltage and current, earthing resistance, protection device operation, monitoring app connectivity, and a full load test. Do not accept “it is working” without seeing the numbers.
Learn the monitoring app on day one. Your installer should walk you through production and consumption screens. Check it weekly at first. Early attention catches small issues before they become big ones.
Schedule cleaning. In dusty Pakistani conditions, panel cleaning every few weeks makes a measurable difference. Whoever can reach the panels safely should own this job.
Choosing Between Panel Types and Inverter Models
Two equipment decisions cause the most second-guessing. Here is how to settle them.
Panels: black or blue? Monocrystalline (black) panels deliver more watts per square meter and handle heat slightly better, which suits tight urban roofs. Polycrystalline (blue) panels cost less per watt and suit large roofs on tight budgets. Our honest black vs blue comparison gives you the real numbers without sales pressure.
Inverters: which hybrid? Compare datasheets on rated power, surge capacity, MPPT range, battery compatibility, and warranty, then weigh the service network in your city. Our hybrid inverter comparison guide teaches fair evaluation, and the why-hybrids-win article explains the underlying logic for Pakistan.
Small wind as a complement: in windy coastal areas, a small turbine alongside panels covers nights and storms. See our realistic wind turbine guide before deciding. For the electronics inside it all, the MOSFET guide is worth a read.
See also: IRFB4115 MOSFET, UF5M diode, home.
Frequently Asked Questions
How much does a home solar plant cost in Pakistan?
Cost depends on system size, equipment brands, and battery choice, and prices move with the market. Rather than quoting figures that go stale, size your system using this guide, then check current prices for each component on SunTech Mall’s website to build an accurate budget.
How many panels do I need for my home?
Divide your average daily units by about 4.5 to get a rough kilowatt figure, then divide by your chosen panel’s wattage. A 400-unit monthly home typically lands around 3 kilowatts, which might be 6 panels of 550 watts each, but do the math for your own bills.
Can I install solar myself?
The panels are the easy part; the electrical design, protection, earthing, and grid interconnection are not DIY territory in Pakistan. Use a qualified installer for the electrical work even if you handle basic tasks yourself.
What happens during load shedding with net metering?
A hybrid inverter with batteries keeps your home powered from stored energy during outages. This is precisely why hybrids are Pakistan’s standard choice over simple on-grid inverters.
How long do solar panels last?
Quality panels carry 25-year performance warranties with slow annual degradation. The inverter typically needs replacement or major service before the panels do, which is why inverter quality and service backing matter so much.
Where can I buy genuine solar equipment in Pakistan?
SunTech Mall stocks hybrid inverters, batteries, and solar components from established brands. Visit our solar collection or contact us at info@suntechmall.com or +92 306 2244820 for help planning your system.
Final Thoughts
Installing a solar plant at home is one of the best investments a Pakistani family can make, but only when done in the right order: bills first, roof second, sizing third, equipment fourth, installer fifth. Skip the order and you pay for it for twenty years. Follow it and the system quietly pays you back.
You now hold the complete sequence, from reading your first bill to watching your monitoring app on commissioning day. That puts you ahead of most buyers already.
Congratulations on planning properly. When you are ready for equipment, SunTech Mall is here with genuine inverters, batteries, and components, plus honest sizing advice at info@suntechmall.com.
1 Comment
Ищете надежное онлайн-казино? Тогда вавада — это ваш идеальный выбор. Платформа вавада гарантирует простой и удобный интерфейс, огромное разнообразие игр, а также выгодные предложения для начинающих игроков и опытных игроков.
Здесь вы сможете играть в слоты, рулетку и многое другое. Почему выбирают вавада? Всё просто: быстрые выплаты, удобная система платежей и оперативная служба поддержки.
Зарегистрируйтесь прямо сейчас на сайте [url=https://vavada.website.yandexcloud.net/]vavada[/url] и начните выигрывать уже прямо сейчас! Узнайте, почему тысячи игроков выбирают вавада.
Удачи в игре!