


250V 47uF Capacitor: How to Choose, Test, and Replace It Safely
A solar inverter once came to my bench with a fault that made no sense. It worked in the morning and threw random errors by afternoon. The owner had already replaced the…

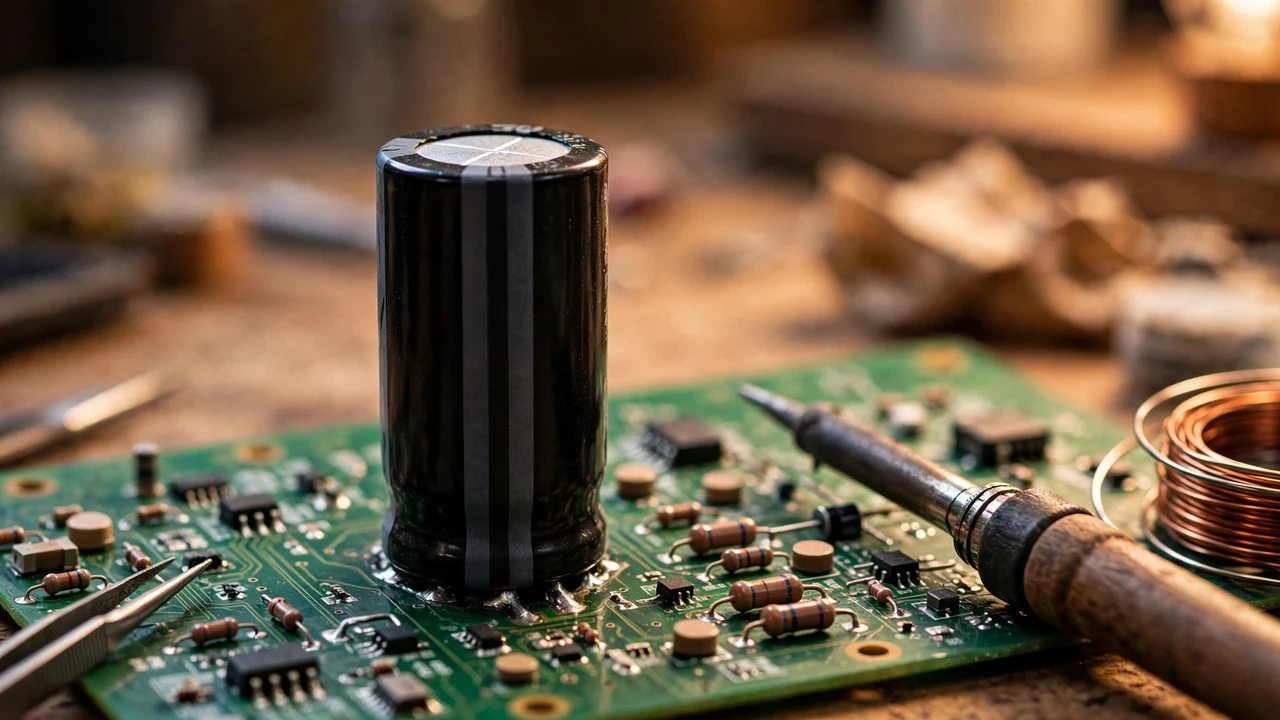
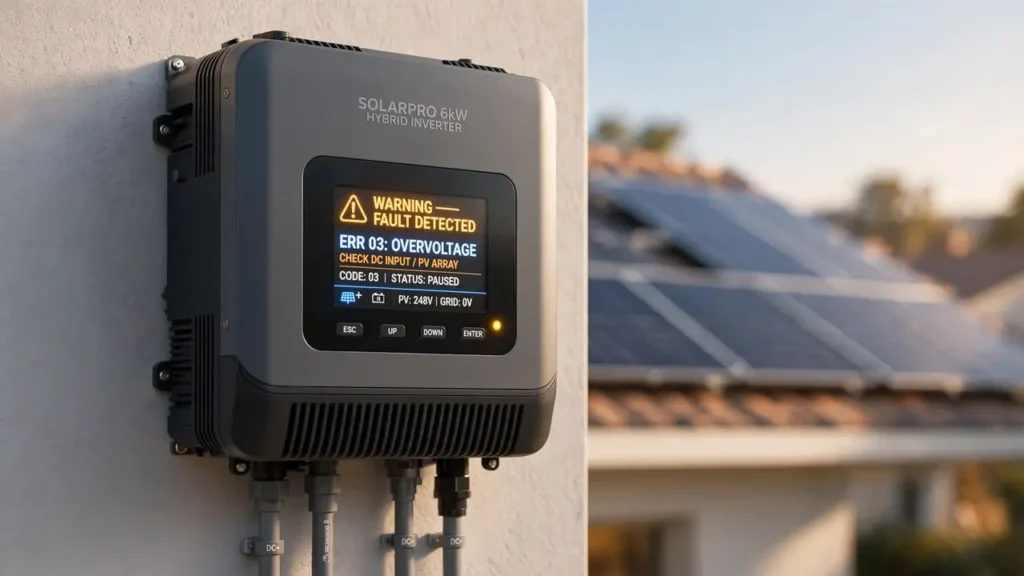
A solar inverter once came to my bench with a fault that made no sense. It worked in the morning and threw random errors by afternoon. The owner had already replaced the control board, and the fault stayed. The real culprit was one small 250V 47uF capacitor in the auxiliary power supply, slowly dying from heat.
That is the story of this part in a nutshell. It looks simple, but a wrong choice means a short life and strange faults. A right choice means a repair that lasts for years.
Key takeaways
- 47uF is the charge storage, and 250V is the maximum voltage ceiling — never the daily working voltage.
- Keep the working voltage at or below 80% of the rating, so about 200V or less for a 250V part.
- In warm gear like inverters, always pick the 105°C version over the 85°C version.
- The stripe marks the negative terminal, and you must discharge the part before you touch it.
- Match the ripple current and low-ESR class, not just the two big numbers on the sleeve.
What do the numbers 250V and 47uF actually mean?
Two numbers, two very different jobs. Here is how to read them in plain words.
47uF is the capacitance. It tells you how much charge the part can store. This is a medium value. It is big enough to smooth power supply ripple, yet small enough to fit in tight board space.
250V is the maximum DC voltage rating. Think of it as a ceiling, not a target. If you go above it, the capacitor will be destroyed. Your circuit should run well below it every day.
Aluminum electrolytic means it is polarized. The stripe down the side marks the negative terminal. If you fit it the wrong way round, it will fail, and at 250V that failure can be violent. Always check the board markings before you solder.
Standard tolerance is ±20%. A 47uF part may measure anywhere from about 37uF to 56uF and still be within spec. That range is fine for filtering and smoothing work.
| Marking on the sleeve | What it means | What you should do |
|---|---|---|
| 47uF | Charge storage (capacitance) | Match it exactly when you replace the part |
| 250V | Maximum DC voltage ceiling | Keep working voltage at or below about 200V |
| Stripe | Negative terminal | Line it up with the negative mark on the board |
| 105°C or 85°C | Maximum temperature rating | Pick 105°C for warm, enclosed gear |
| ±20% | Allowed capacitance range | Expect roughly 37uF to 56uF on a meter |
Why does voltage derating decide the life of this capacitor?
If you remember one rule from this guide, make it this one: the voltage rating is a ceiling, not a target.
The professional rule is to keep the working voltage at or below 80% of the rated voltage. For a 250V capacitor, that means the highest DC voltage in the circuit should stay at or below roughly 200V. This safety margin is called derating, and it is what gives the part a long life.
Why does it matter so much? Inside the capacitor, voltage stresses a thin aluminum oxide layer. Higher voltage means more leakage current, more internal heat, and faster ageing. A part run near its limit ages far faster than the same part run with margin.
Put it into practice like this. Find the highest DC voltage the capacitor will ever see, including mains fluctuations, not just the normal value. If that number is anywhere near 250V, you need a higher-rated part, such as 350V or 400V.
One warning matters here. On 230V mains, rectified DC peaks above 320V, which is far beyond what a 250V part can survive directly. This capacitor belongs in circuits where the voltage is lower, such as auxiliary supplies, voltage-doubler arrangements, and LED drivers. Never assume a mains-derived rail is safe for a 250V part. Measure it first.
Where will you find a 250V 47uF capacitor at work?
I have met this capacitor in four main roles at the bench.
Auxiliary power supplies. Inside inverters, UPS units, and industrial supplies, a small auxiliary supply makes the low-voltage rails for the control circuits. The 250V 47uF often sits on the high-voltage side of that supply, smoothing rectified voltage before it is stepped down. This was exactly the spot of the failed part in the inverter story above.
LED drivers and lighting ballasts. Many LED drivers and CFL ballasts rectify the mains and filter it with medium-value, high-voltage electrolytics. The 47uF value is common here, since it smooths ripple well yet stays compact in tight driver housings.
Startup and bootstrap circuits. Some supplies need a charge reservoir to start their control electronics before the main stage settles. A weak capacitor here causes the classic symptom: the unit tries to start, fails, and retries, or runs briefly and dies.
Audio and valve equipment. High-voltage audio amplifiers and older valve gear use 250V-rated electrolytics in their power supplies, where 47uF gives filtering without excessive size.
Should you choose the 85°C or the 105°C version?
For warm equipment, the answer is simple: choose the 105°C version.
Electrolytic capacitors age by drying out, and heat speeds that up fast. A widely used engineering rule says capacitor life roughly halves for every 10°C of temperature rise. Inside an inverter enclosure running at 60–70°C, an 85°C part is already near its limit. A 105°C part still has comfortable margin.
The difference in cost between the two versions is small, and the difference in life is measured in years. For any capacitor inside a solar inverter, UPS, or enclosed supply in Pakistan’s climate, the 105°C version is the right pick.
Bonus tip: when you replace a capacitor in a hot enclosure, check the ventilation too. Blocked vents or a dead cooling fan can raise the inside temperature sharply. A clean enclosure is free reliability.
What are ripple current and ESR, in plain words?
Two specs hide behind the big printed numbers, and they decide whether your capacitor lives or dies.
Ripple current is the AC current flowing through the capacitor as it charges and discharges with each mains or switching cycle. In power supplies, this current is constant and large. Every capacitor has a maximum ripple current rating. Go past it, and the part overheats from the inside.
ESR, or equivalent series resistance, is the capacitor’s internal resistance. Ripple current flowing through ESR makes heat. As the part ages and dries out, ESR rises, which makes more heat, which dries it faster. It is a death spiral.
When you replace a 250V 47uF in a power supply, match or beat the original’s ripple current rating. Pick a low-ESR type made for switching supplies. A general-purpose part with the same value may look identical but die quickly in a high-ripple spot. One published series example (a 47uF 250V radial part, 13 × 25 mm) lists ±20% tolerance, a −40°C to +105°C range, and a long-life rating at 105°C — but always check your own part’s datasheet, since figures vary by series. Where a datasheet figure is not available for your exact part, do not guess it; ask the seller for the series datasheet.
How do you test a 250V 47uF capacitor safely?
High voltage demands high respect. Follow this order exactly, and never skip the first step.
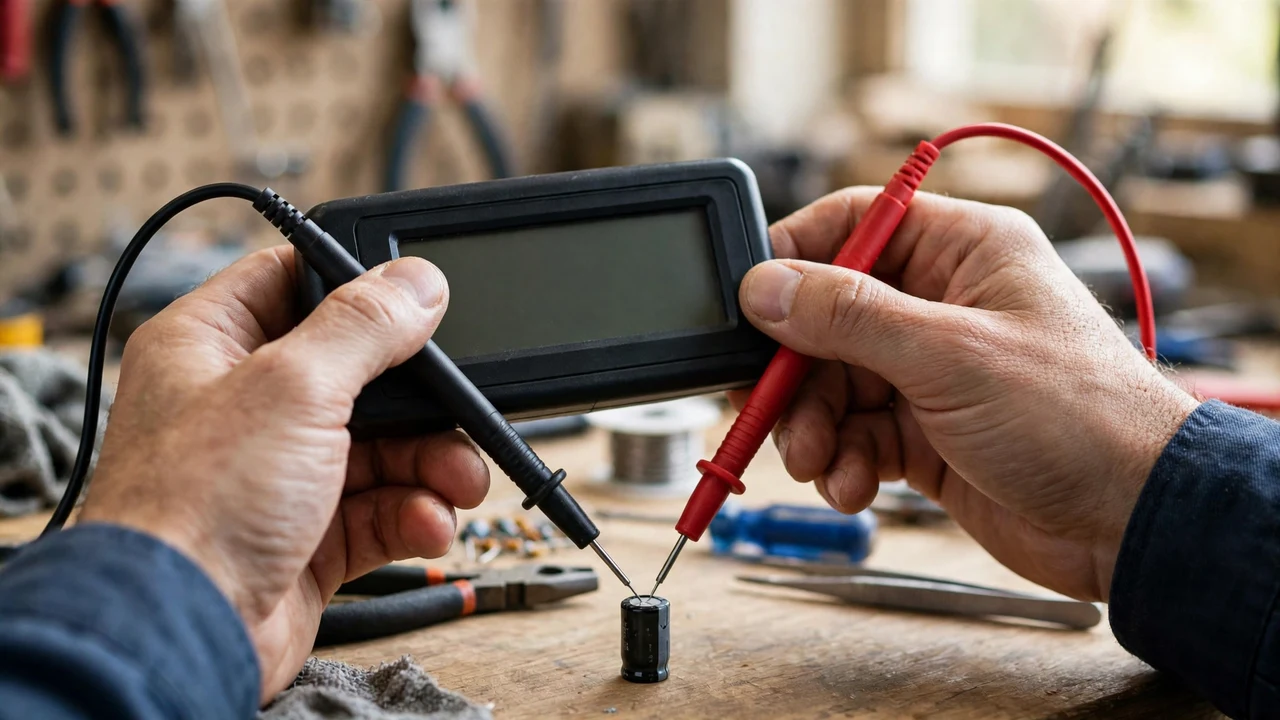
Step 1: Discharge it. A 250V capacitor can hold a painful charge long after power is removed. Bridge the terminals with a 10K ohm, 5-watt resistor for several seconds. Then verify zero volts with your meter before you touch anything. Never short the terminals directly, since the spark can damage the part and hurt you.
Step 2: Look at it closely. Check for a bulged top, leaked residue around the base, or a sleeve discoloured by heat. On a 47uF can, the bulge can be subtle, so sight along the top from the side. Any of these signs condemns the part at once.
Step 3: Measure the capacitance. With the part discharged and at least one lead desoldered, measure it. In-circuit readings mislead, because nearby parts affect the result. Expect roughly 37uF to 56uF. Far below 37uF means dried-out electrolyte, and near zero means internal failure.
Step 4: Measure the ESR. An ESR meter gives the real verdict. Compare your reading against a known-good 250V 47uF. High ESR means the part is dying, even if the capacitance still reads within tolerance.
What is the safe replacement checklist?
Replacing a high-voltage electrolytic is straightforward soldering, with five rules you must not break.
- Match capacitance, and meet or beat voltage. 47uF stays 47uF. You may go up in voltage to 350V or 400V if it fits, since that only adds margin. Never go down.
- Use 105°C low-ESR parts. In power supplies and inverters, this is mandatory, not optional.
- Respect polarity absolutely. Stripe to negative, every time. Double-check against the board markings before the iron touches the joint.
- Match the footprint. Same diameter, same lead spacing, and a height that clears the enclosure. A taller part that stops the cover closing is a failed repair.
- Confirm the circuit voltage first. Before you fit the replacement, verify the actual DC voltage at that spot stays within the derating rule. If the original died from overvoltage rather than age, a same-rated replacement will die the same way.
How do you spot a genuine part in Pakistan?
The counterfeit problem is real, and high-voltage capacitors are a favourite target, because fakes look convincing until they fail.
Buy from a component specialist. Specialists test their supply chains, while general traders often cannot tell you the temperature rating or ESR class. Check the live price and availability in the electronic parts category at SunTech Mall or on the SunTech Mall homepage.
Read the full sleeve. A genuine part prints capacitance, voltage, temperature rating, polarity stripe, and maker clearly. Ask the seller for the temperature rating and ripple current class. An honest seller answers at once.
Be suspicious of prices that look impossible. A 105°C low-ESR 250V part costs more to make than a general-purpose 85°C one. If the deal looks too good, you are probably looking at the cheaper part in disguise.
For related reading, see our 25V 1500uF capacitor guide for low-voltage filtering and our 20D561K varistor guide for surge protection.
Frequently asked questions
Can I replace a 250V 47uF with a 400V 47uF?
Yes, provided it fits physically. A higher voltage rating only adds safety margin. Never replace it with a lower voltage rating than the original.
Is the stripe on the capacitor positive or negative?
The stripe marks the negative terminal. The positive lead is usually longer on a new part. Always confirm against the board’s printed markings before you solder.
Why did my capacitor fail after only a year?
The usual causes are too much heat, overvoltage with no derating margin, high ripple current on a general-purpose part, or a counterfeit component.
Can I measure a capacitor while it is still soldered in?
You can get a rough reading, but parallel parts distort it. For a result you can trust, desolder at least one lead and test the part on its own.
What does 105°C mean on a capacitor?
It is the maximum rated operating temperature. A 105°C part uses better seals and electrolyte, so it lasts far longer in warm gear like inverters.
Do I really need to discharge the capacitor before handling it?
Yes, always. A 250V capacitor can hold a dangerous charge long after power is removed. Discharge it through a resistor, verify zero volts, then handle it.
Verdict: is the 250V 47uF the right part for your repair?
Yes, if your circuit voltage, temperature, and ripple current all fit within its ratings. Match the 47uF value, keep the working voltage at or below about 200V, pick a 105°C low-ESR part, and respect polarity and safe discharge. Do those five things, and this small part will give you a repair that lasts.
If this guide saved you from a wrong purchase or a dangerous mistake, share it with a fellow technician. When you need genuine parts, check the live price on the website in the electronic parts section at SunTech Mall. Questions? Reach us through SunTech Mall and chat with us on WhatsApp through the website.
2 Comments
[…] you will meet larger relatives of this part: high-voltage bus capacitors in inverters. Our 250V 47uF capacitor guide covers […]
[…] related reading, see our 25V 1500uF capacitor guide for power supply filtering and our 250V 47uF capacitor guide for high-voltage […]