
Split AC Inverter PCB Repair 2026: Repair the Board or Replace It — A Technician’s Guide
Published on 19 November 2026. Updated on 19 November 2026. Repair the board when one part has failed and the rest of the board looks healthy. Replace the board when parts are…

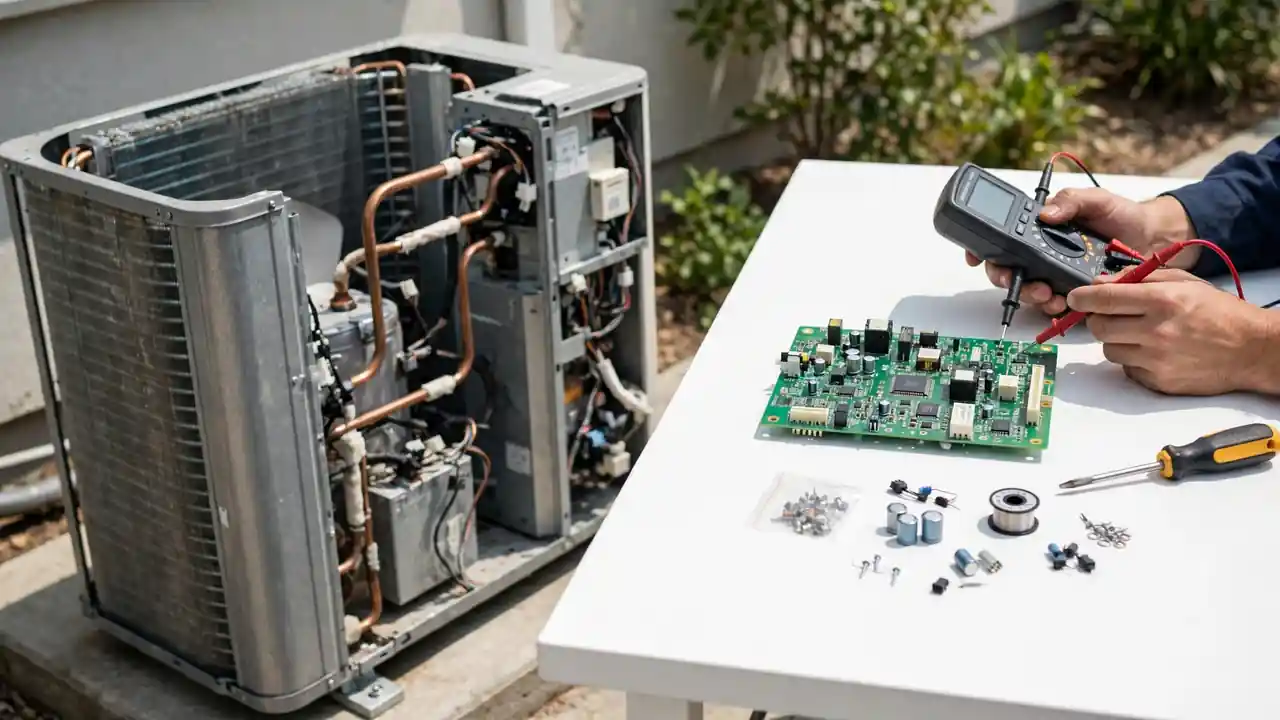
Published on 19 November 2026. Updated on 19 November 2026.
Repair the board when one part has failed and the rest of the board looks healthy. Replace the board when parts are burnt, the tracks are broken, or the repair costs more than a new board. A technician decides this after testing the fuse, the capacitors, and the power module.
In This Guide
Last summer, a customer brought his split AC to our repair centre: the indoor fan ran, but the outdoor unit stayed dead. Our technician tested the small board inside and found one swollen capacitor and a blown fuse. He changed those two parts, and the AC cooled again the same day.
That small board is the inverter PCB, the part that drives the compressor in a modern split AC. A technician can test its parts one by one before anyone pays for a new board.
Trust nudge: This guide comes from SunTech Mall, a solar inverter spare parts store in Pakistan whose repair team tests and fixes inverter boards every day.
What Does the Split AC Inverter PCB Do? — the brain of the outdoor unit What Are the Signs of a Bad AC Inverter PCB? — the warning signs What Does Each Symptom Point To? — the symptom table How Do I Test an AC Inverter PCB With a Multimeter? — six steps What Should I Check Before I Blame the PCB? — other suspects first Which Parts on an AC PCB Fail Most Often? — the usual suspects How Do I Choose the Right Replacement Part? — match the part When Should I Repair the Board, and When Should I Replace It? — repair or replace? When Should I Ask a Technician? — know when to stop
What Does the Split AC Inverter PCB Do?
A split AC usually has two main boards. The indoor board reads the temperature sensors, takes the remote control signals, and drives the indoor fan and the air direction flaps. The outdoor board runs the compressor, the outdoor fan, and the expansion valve, and it handles the protection logic.
The outdoor board carries the heavy load, so it fails more often. It sits in an outdoor box, in heat, dust, and rain, and it switches high currents thousands of times a second. The board first turns the incoming AC supply into DC power, then switches it to make a variable frequency that drives the compressor.
Inside the board, the power path has a clear order. A rectifier turns AC into DC, a power factor correction stage cleans up the input, and then gate drivers switch IGBTs, MOSFETs, or one intelligent power module (IPM). An IPM holds six IGBTs in one package, and it switches the DC bus voltage to make the three phases that drive the compressor motor. The DC bus sits at about 300 volts, held up by big capacitors, so this is not a low voltage board.
Note: Error codes differ by brand and by model, so no single code means board failure on every AC. Always read the code in your own model's manual, and never order a board from a code alone.
What Are the Signs of a Bad AC Inverter PCB?
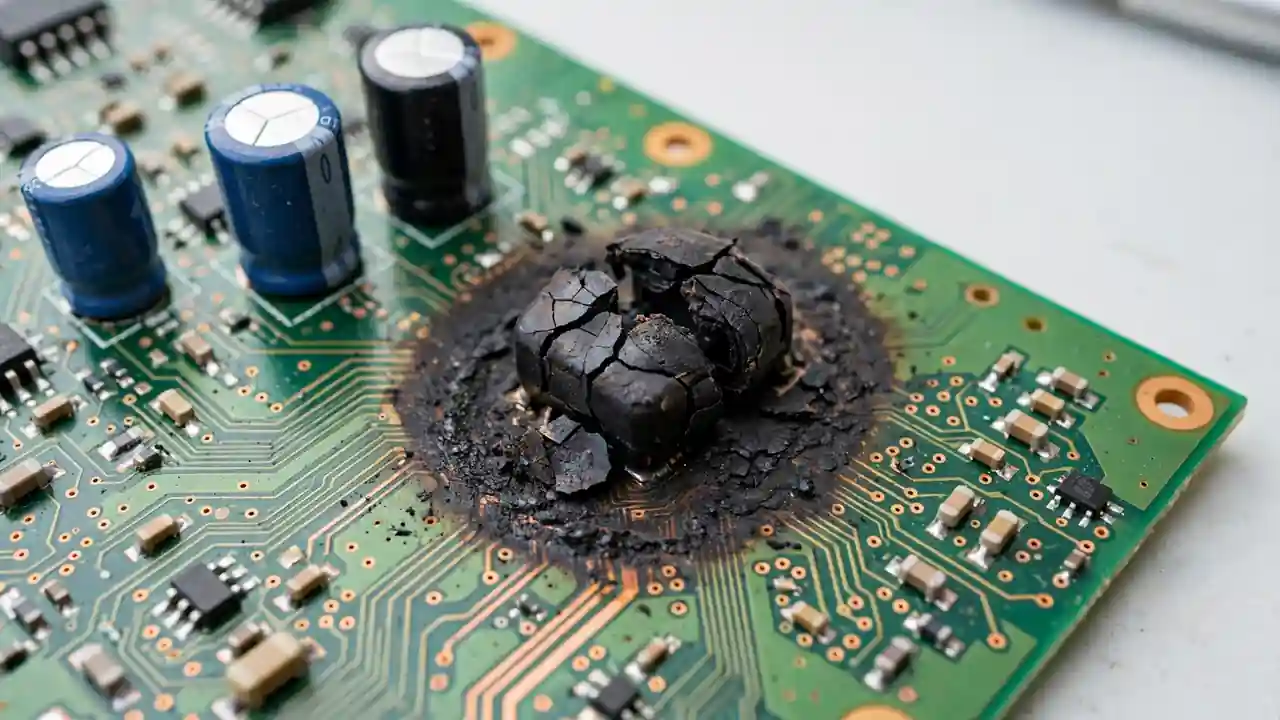
A bad board gives clear signs before you ever open the outdoor box. The first sign is an AC that will not start at all, or a display that stays dark even though the breaker is on. The second sign is an outdoor unit that stays dead while the indoor fan runs.
The third sign is a compressor that starts and stops again and again, never settling down. The fourth sign is a breaker that trips the moment the AC starts, which points at a short inside the board or the parts it drives. The fifth sign is a burning smell near the outdoor unit, or black scorch marks on the board.
Look for the small signs too. An error code on the display can be a board fault, but it can also be a sensor or a wire. A swollen or leaking capacitor is a sign a technician can see at once. And a fan that spins while the compressor never starts is a classic board sign: the board can run the fan, but it cannot drive the compressor.
One honest warning matters here: the error code is the board reporting a problem, not proof the board is dead.
Bonus Tip: Before you call anyone, check the simple things first: is the breaker on, is the remote set to cool, and is the outdoor unit getting power at all? A tripped breaker or a loose plug is not a board fault, and it costs nothing to check.
What Does Each Symptom Point To?
The table pairs each symptom with the part that most often causes it, and the check a technician starts with. Use it as a guide, not as a diagnosis.
| Symptom | Likely part on the board | What to check first |
|---|---|---|
| Unit dead, no lights, no display | Input fuse or varistor | Fuse continuity; varistor for a burn mark or crack |
| Breaker trips the moment the AC starts | Bridge rectifier or power module shorted | Diode-mode test; a shorted IGBT or IPM leg |
| Compressor starts, then stops again and again | Swollen DC bus capacitors | Capacitor tops bulged or leaking; DC bus sagging |
| Fan runs, but the compressor never starts | Power module (IPM) or gate driver | IPM output to the compressor; driver supply voltage |
| Indoor and outdoor units cannot talk to each other | Optocoupler or signal wiring | The wire between the units first, then the optocoupler |
| Wrong temperature, or the AC shuts off for no clear reason | Temperature sensor (thermistor) | Sensor resistance against the chart in the manual |
A breaker that trips at once means a short somewhere: switch it off and leave it off until a technician finds the short. A swollen capacitor is the easiest board fault to see, but it is rarely the whole story: the same heat or surge may have hurt the parts next to it.
How Do I Test an AC Inverter PCB With a Multimeter?
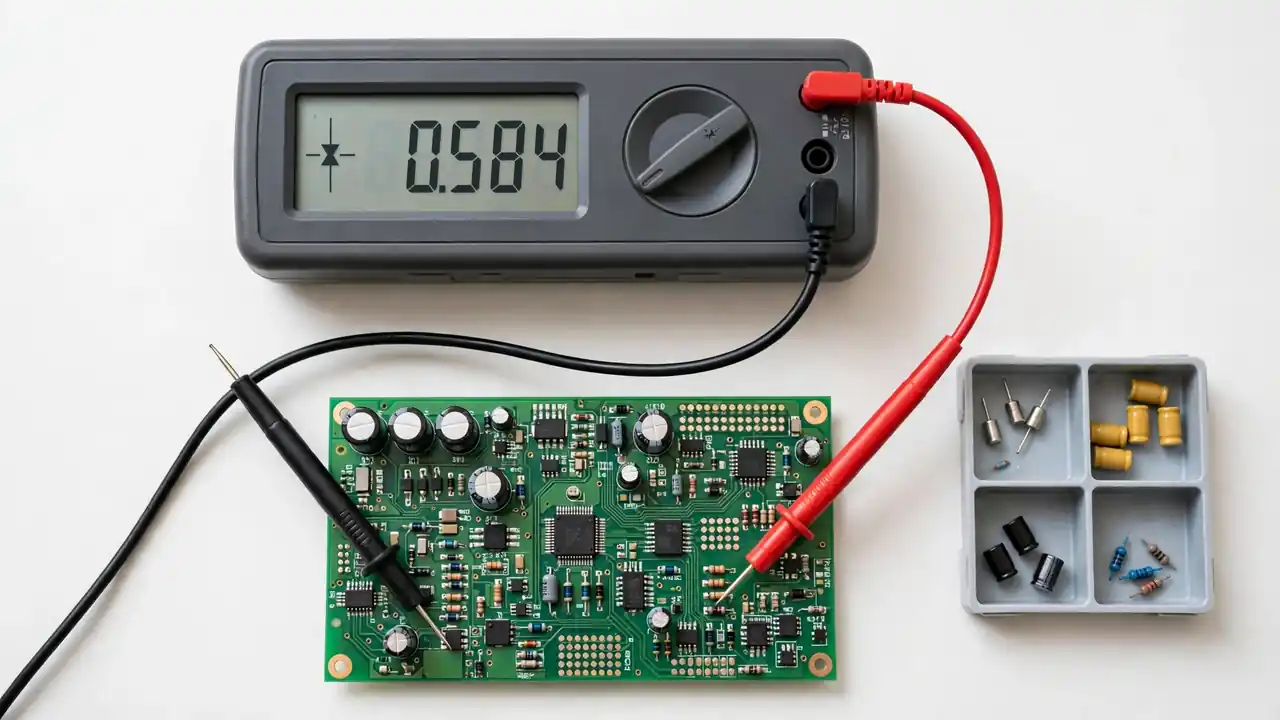
Test the board on a bench, out of the AC. A part still soldered on the board can give false readings, and a board still wired into the AC cannot be tested safely. If you cannot remove the board, leave the job to a technician.
- Switch everything off and make it safe. Switch the AC off at the breaker. Wait several minutes, then measure the DC bus across the big capacitor: do not touch anything until the reading drops below 5 volts.
- Look at the board first, before any meter. Search for burn marks, a cracked part, swollen capacitors, green corrosion, loose connectors, and insects bridging the contacts.
- Test the input fuse. Set the multimeter to continuity mode and touch the probes to the two ends of the fuse. A good fuse beeps, and a blown fuse shows OL. A blown fuse always means something else failed first.
- Test the bridge rectifier in diode mode. A healthy silicon diode shows about 0.4 to 0.8 volts in one direction and OL in the other direction. Test each of the four diodes the same way: near zero both ways is shorted, OL both ways is open. Our guide on rectifier diode and bridge rectifier fault shows the full test step by step.
- Check the big DC bus capacitors. Look at the tops: a flat top is healthy, and a domed or bulged top, or any leak, means the capacitor is dying.
- Test the power module. In diode mode, check the IPM legs one pair at a time and compare the readings. A shorted leg reads near zero both ways, and one leg that reads very differently is the suspect.
One part, one direction at a time, and the worst reading decides. A board that tests fine on the bench still needs a run test under load.
Note: Never work on a live AC. Disconnect the power at the breaker before you touch anything, and wait for the capacitors to discharge. Board work must be done by a qualified technician only: the DC bus holds about 300 volts even after the AC is switched off. If any step feels unsafe, stop and call a technician.
What Should I Check Before I Blame the PCB?
A dead AC is not always a dead board, so check the cheap suspects first. Start with the power supply: breaker, disconnect switch, wiring, and the voltage at the outdoor unit under load. Low supply voltage forces higher current through the board and raises the temperature of every part on it.
Next, test the sensors. The temperature sensors, called thermistors, are compared against the resistance chart in the AC manual. A lying sensor makes the board protect the compressor exactly as designed.
Then check the communication wiring between the indoor and outdoor units. A chewed, corroded, or miswired signal cable gives the same error code as a failed communication circuit. Only when the wire tests good does the board's own circuit come under suspicion, and that circuit often uses an optocoupler to keep the low voltage side away from the high voltage side. The TLP 350H gate driver optocoupler is one such part, and our guide on gate driver IC failure signs explains how one burnt driver can fool you.
Then think about the fan motors and the compressor. A seized outdoor fan motor lets heat build up until the power module overheats, so a dead fan can kill a board. The brushless fan section lists fans by size. A technician also measures the compressor winding resistance, because a shorted compressor can destroy a new board at power up.
Note: Inside the warranty period, contact the installer or supplier rather than repairing the board yourself, because DIY work can void the warranty.
Which Parts on an AC PCB Fail Most Often?
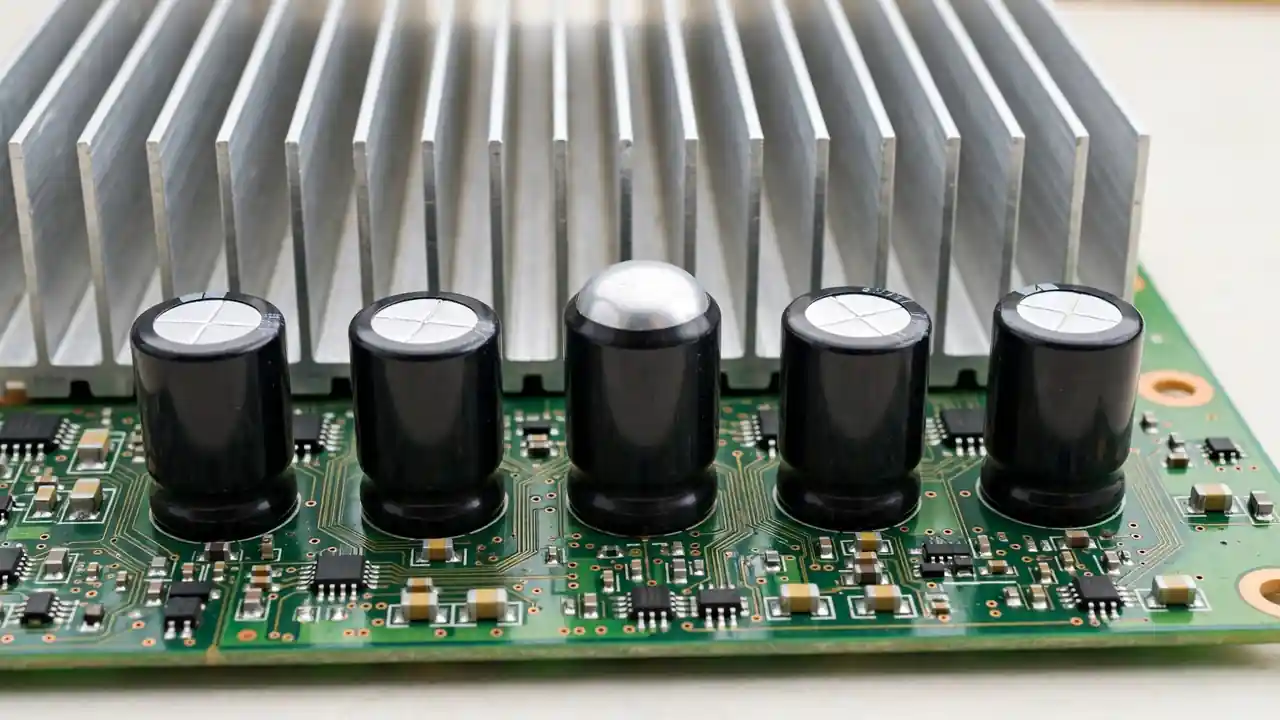
Heat, surges, and age do most of the damage.
Capacitors fail first and most often. Years of heating and cooling dry them out, and a surge finishes them. The big DC bus capacitors lose value and let the DC bus sag, so the compressor starts and stops. Our guide on inverter capacitor bulging signs shows what a dying capacitor looks like.
Fuses and varistors die to protect the rest of the board. A varistor sits across the AC input and soaks up a surge, and a big surge can crack it or burn it black. The 20D471K metal oxide varistor is one such surge part. Never fit a bigger fuse: the short will burn the board instead.
Bridge rectifiers fail the same way they fail in any inverter. A surge breaks one diode short and the fuse blows, or heat cracks the body and one diode goes open.
Power modules, IGBTs, and MOSFETs fail from heat stress. The transistors warm under load and cool when it drops, and the solder joints slowly crack. Research on power converters reports that IGBTs are the second most unreliable devices causing inverter failure, after capacitors. The MOSFET and IGBT sections list these power parts.
Relays wear out from switching. The switching relay connects the supply to the indoor or outdoor side, and its contacts pit a little more with every switch, until one day it clicks but nothing happens. A relay that clicks but gives no output is a relay fault, not a board fault, and it is one of the cheapest board repairs there is.
Optocouplers fail quietly on the communication link. The indoor and outdoor boards talk through them, and a dead optocoupler looks exactly like a broken wire. Test the wire first, then the optocoupler, and never blame the whole board for one dead link part.
How Do I Choose the Right Replacement Part?
Match the old part, never guess. The numbers that matter are printed on the part itself or in the AC manual: the voltage rating and the current rating for a power part, and the value for a capacitor or a fuse. A replacement must match or beat the voltage and current numbers, or it will fail again in a few weeks. The package matters too: a power module that bolts to a heat sink cannot be swapped for a small surface part.
Read the part number off the old part before you order. If the markings are gone, a technician can work out the part from the board layout and the AC model.
One honest point matters here. SunTech Mall does not sell complete split AC PCBs, and it does not sell AC-specific power modules. A complete AC board is matched to one AC brand and model, so it comes from the AC maker or its dealer. What SunTech Mall does sell is the repair parts a technician actually needs: fuses, varistors, capacitors, MOSFETs, IGBTs, optocouplers, bridge rectifiers, and fans. When one part has failed, you buy that part, not a whole board.
For the power stage, the HY3215 N channel MOSFET is a common high current part, and the GBU08 1000V 8A bridge rectifier is a common fit for the input stage. Always check the live price on the website, and test the new part before you solder it in.
When Should I Repair the Board, and When Should I Replace It?
In split AC inverter PCB repair, fix the board when the fault is narrow and the rest of the board is healthy: a single burnt capacitor, a blown fuse with a clear cause, one dead relay, a loose solder joint, or light corrosion that can be cleaned off. The repair is quick, and it costs far less than a new board.
Replace the whole board when the damage is wide. Several burnt parts at once, heavy corrosion, cracked tracks, a burnt board base, or a programmed part that cannot be bought on its own all point at replacement. A board that has already been repaired more than once should be replaced, not repaired again.
Compare the repair bill with the board price before you decide: when the repair cost comes close to the price of a new board, replacement is the better call. Our guide on solar inverter repair cost gives honest estimate ranges for each common fault, so you can tell a fair bill from an unfair one. Replace the whole AC only when the unit itself is the problem: more than ten years old, frequent repairs, or a second major fault such as a failed compressor.
When Should I Ask a Technician?
Most of this guide you can use yourself: read the signs, find the symptom in the table, and match the replacement part number. But any work inside the AC, any board repair, and any fault that comes back twice belongs to a technician: the real cause was never found, and only a bench test will find it.
Ask a technician when you smell burning, see a black mark on the board, or the breaker trips the moment the AC starts: these are signs of a short inside the unit. Do not keep switching it on, and do not fit a bigger fuse. Switch it off, disconnect it, and take it to a technician. SunTech Mall runs its own inverter and UPS repair service centre in Pakistan: bring the AC brand and model, the part number, and your readings, and the technician can confirm the fault in minutes.
Frequently Asked Questions
Can a split AC inverter PCB be repaired?
Yes, when the fault is narrow. A technician can replace one failed capacitor, fuse, relay, varistor, or power part, and resolder a cracked joint. Repair stops making sense when several parts are burnt, the tracks are cracked, or a programmed part has failed.
What are the signs of a bad AC PCB?
The clearest signs are an AC that will not start, an outdoor unit that stays dead while the indoor fan runs, a compressor that starts and stops again and again, a breaker that trips at start, a burning smell, scorch marks, and swollen capacitors. An error code can also point at the board, but codes differ by brand.
How do I test an AC PCB with a multimeter?
Switch the AC off at the breaker and wait until the DC bus drops below 5 volts. Then test the input fuse, test the bridge rectifier in diode mode at about 0.4 to 0.8 volts one way and OL the other way, and test the power module legs one pair at a time.
What causes an AC inverter PCB to fail?
The most common causes are voltage surges and lightning, low or unstable supply voltage, moisture and corrosion, insects, overheating from a blocked coil or a failed fan, and faults elsewhere such as a shorted compressor or a low gas charge. Poor installation and loose terminals also damage boards.
Can I replace an AC PCB myself?
No, board replacement should be done by a qualified technician: boards carry high voltage, capacitors can hold stored energy after the power is off, and wrong wiring can damage the new board at once.
Does SunTech Mall sell split AC PCBs?
No. SunTech Mall does not stock complete split AC PCBs or AC-specific power modules. What SunTech Mall does sell is the repair parts a technician needs for these boards: fuses, varistors, capacitors, MOSFETs, IGBTs, optocouplers, bridge rectifiers, and fans.
Final Thoughts
A split AC inverter PCB is a small board with a big job, and a multimeter tells you its health in minutes. Find your symptom in the table, test the part it points at, and trust what the meter says.
Before you pay for a whole new board, test the board first: the fuse, the capacitors, and the power module are the cheapest common causes of a dead AC.
Ready to check your part? The fuses section at SunTech Mall lists the repair parts for these boards — check the live price on the website. Questions? Message SunTech Mall on WhatsApp at 0306-2244820 with your AC brand and model and your readings, and we will help you match the right part.
Published on 19 November 2026. Updated on 19 November 2026.
Sources: iClimaAir — Inverter AC PCB Problems: Causes, Symptoms and Prevention (two boards, surge and heat causes, six pre-replacement checks, repair vs replace) ; MOKO Technology — Air Conditioner PCB Guide: Types, Functions and Failures (inverter PCB circuits: rectifier, PFC, gate drivers, IGBT/MOSFET/IPM; repair vs replace) ; Silverback Aircon — Aircon PCB Repair Guide (five signs, ten causes, repair when one part fails, replace when damage is wide) ; AC Direct — Inverter Board Failure: Symptoms and Causes (codes differ by brand, test power, sensors, wiring and compressor first, shorted compressor kills a new board)
Related Technical Guides
 Category:
General
SPD and Voltage Protection 2026: Save Your Solar Inverter From Power Surges
An SPD, or surge protection device, guards your solar inverter from voltage spikes caused by lightning and grid switching. It sends the…
 Category:
General
Day Solar Inverter Repair 2026: 7 Common Faults and the Real Parts That Fix Them
A Day Solar inverter fails in seven common ways: no output, repeated restarts, heat shutdown, no solar input, blown fuses, strange noise,…
 Category:
General
Lithium Battery Lifespan 2026: 7 Mistakes That Kill Your Battery Early — A Technician’s Guide
Published on 20 November 2026. Updated on 20 November 2026. A lithium battery lasts years longer when you avoid seven mistakes: draining…