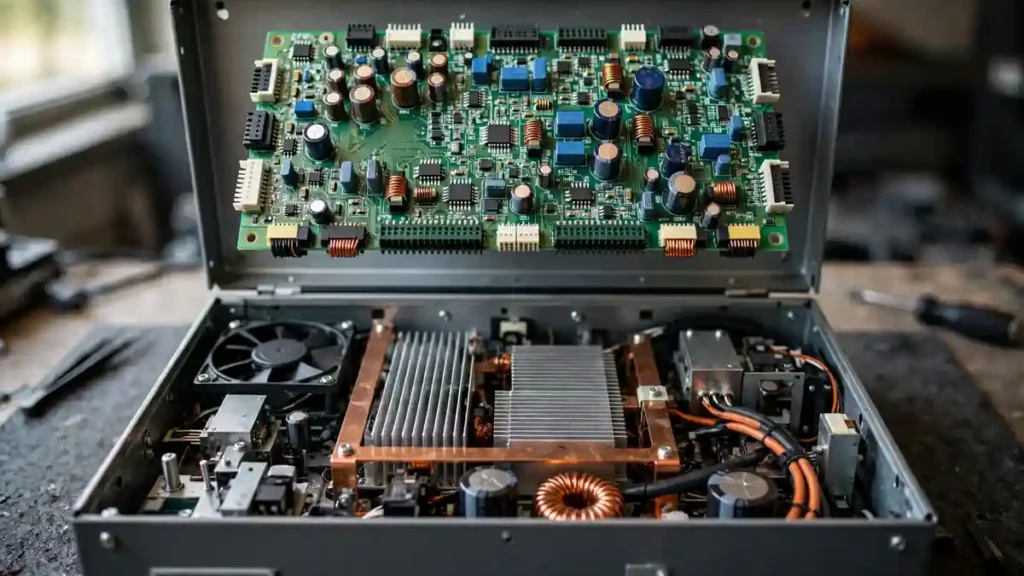
Original vs Fake Inverter Spare Parts 2026: 8 Hands-On Checks Before You Fit a Part
Check a part before you fit it, not after the inverter fails again. Compare its markings, surface, pins, size, and meter readings with the datasheet and a known-good part. If one check…

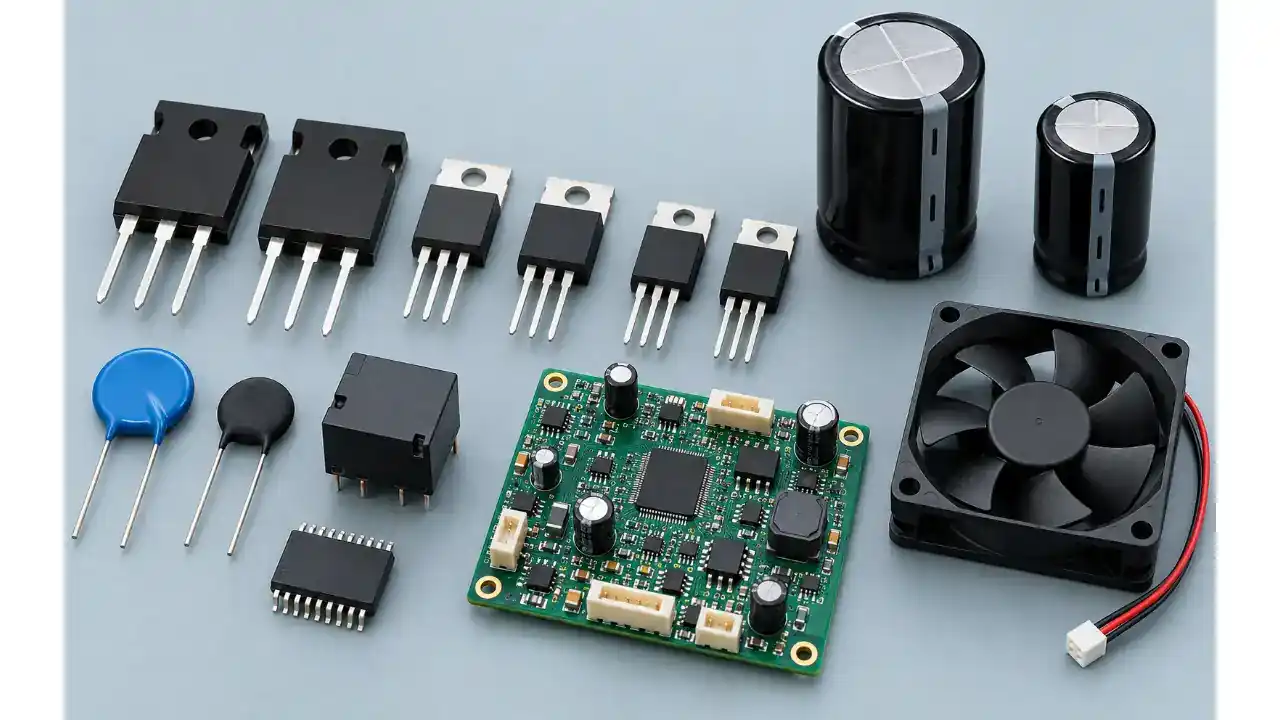
Check a part before you fit it, not after the inverter fails again. Compare its markings, surface, pins, size, and meter readings with the datasheet and a known-good part. If one check fails, do not fit it. The eight checks below take a few minutes and can save boards.
Last month a technician fitted a new power switch and switched the inverter on. The board died in ten minutes. The part looked right. But the part was not right. One check before fitting would have caught it. That is what this guide is for. It is a bench checklist. You do the checks in order, on the part in your hand, before it goes near a board.
This guide is for home users who want to understand what their technician checks, and for repair technicians who fit parts every day. You will learn why a fake part looks real, the eight checks in order, what each check looks like on common parts, what to do when a part fails, and how to buy so these checks rarely fail. For the wider story of where to find original parts, read our Peshawar spare parts guide. This guide stays on the bench.
Trust nudge: SunTech Mall runs its own inverter and UPS repair service centre in Pakistan. We open inverters, test parts on the bench, and fit replacements every day. We also sell original solar inverter and UPS spare parts to technicians and home buyers across Pakistan. So these checks come from real bench work, not from sales talk.
What You Will Learn in This Guide
Why a fake part looks real at first; the 8 hands-on checks in order, with a pass rule for each one; what each check looks like on a MOSFET, an IGBT, a capacitor, a control board, and a fan; what to do the moment a part fails a check; how to buy so you rarely need to reject a part; and answers to 6 common questions. You can browse more parts in the Electronic Parts section and the Solar Inverters section.
Why does a fake part look real at first?
A fake part is often a real part that was changed. That is why it looks so good. Industry guides describe three common tricks. In remarking, the old marking is sanded or ground off, a new coating is put on, and a new number is printed on top. In recycling, a used part is pulled off an old board, cleaned, re-tinned, and sold as new. In cloning, a different, cheaper chip is put in a package that copies a known part. The ERAI glossary defines a remarked part in exactly this way, as a part whose old markings were removed and replaced with a new marking, and ERAI warns that a part remarked by an unauthorised third party counts as counterfeit even if it still passes a simple electrical test.
The surface tells this story if you look closely. Sanding leaves fine lines. A new coating looks thicker, or slightly different in colour, from the rest of the body. Edges that should be sharp look rounded, because grinding took material off. The pins tell a second story. A used part has pins that were soldered once before. They may show scratches in mixed directions, dull spots, or fresh tin over old solder. A new part has clean, even pins.
Note: A part can pass a quick meter test and still be fake. A recycled part may still work for a short time. A remarked part may carry the right number but the wrong chip inside. That is why this guide uses eight checks, not one. One check can be fooled. Eight checks, done in order, are much harder to fool.
What are the 8 hands-on checks before you fit a part?
Work in this order. Do not skip a check because the part looks fine. If any check fails, stop. Do not fit the part to "see if it works." Fitting a suspect part is how a small doubt turns into a burnt board. Here are the eight checks:
- Read the full part number. Match every letter and digit with the datasheet for that exact part, not just the package shape. A similar number is a different part.
- Look at the marking under good light. Use a magnifier if you have one. Genuine laser marking is sharp, even, and hard to rub off. Fuzzy letters, uneven spacing, a spelling mistake, or a logo that looks wrong are all warnings.
- Look at the surface and the edges. Check for fine sanding lines, a coating that looks new over an old body, or edges that look rounded instead of sharp. Any of these points to remarking.
- Check the pins and leads. They should be clean, evenly tinned, and straight. Scratches in mixed directions, solder blobs, bent pins that were straightened, or dull, oxidised spots point to a used or reworked part.
- Compare size, weight, and shape with a known-good part. Put the two parts side by side. A sanded part is often thinner. A wrong copy may have a different metal tab, a different mounting hole, or a different body height.
- Check the date code and batch logic. The date code must make sense for the part and match the datasheet era. Parts from one lot should look the same. Mixed looks in one lot are a warning.
- Test with a multimeter before fitting. For a MOSFET, check the body diode and the gate isolation, as our multimeter guide explains. For a diode, check the forward drop. For a capacitor, compare its reading with a known-good part of the same value. A clear fail means a bad part. A pass is not proof that the part is genuine.
- Check the seller story. Vague specs, no clear part number, no datasheet link, and a deal far below the normal market level all point the same way. A trusted seller gives the full part number, the full specs, and a clear product page. Check the live product page and check the live price on the website before you order.
Bonus Tip: Keep one known-good part of each type you fit often, and keep a clear photo of its marking, its pins, and its size next to a ruler. That photo is your golden sample. When a new part arrives, you compare it in one minute, with the same light and the same eyes, every time.
Note: Work safely. Switch the inverter off and disconnect the battery before you touch any part on a board. Big capacitors can hold a charge after power off, so discharge them safely as your training teaches. If any step feels unsafe, stop and ask a trained technician. A part costs little. Your safety costs everything.
What does each check look like on a MOSFET, an IGBT, and a capacitor?
The same eight checks apply to every part, but each part type shows fakes in its own way. The table below sums it up. Read the row for the part in your hand before you start.
| Part | Check that matters most | What a genuine part shows | What a fake part often shows | If it fails |
|---|---|---|---|---|
| Power MOSFET, such as the HY3215 | Marking, pins, and meter test | Sharp laser marking, clean even pins, body diode drop in one direction and OL in the other | Fuzzy marking, mixed pin scratches, short or open in both directions | Do not fit it. Compare with a known-good part of the same number. |
| Power MOSFET, such as the NCEP 85T16 | Size and datasheet match | TO-220 body that matches the datasheet size, 85V and 160A ratings on its own live product page | Thinner body after sanding, or a rating that does not match the datasheet | Do not fit it. A wrong rating burns under load. |
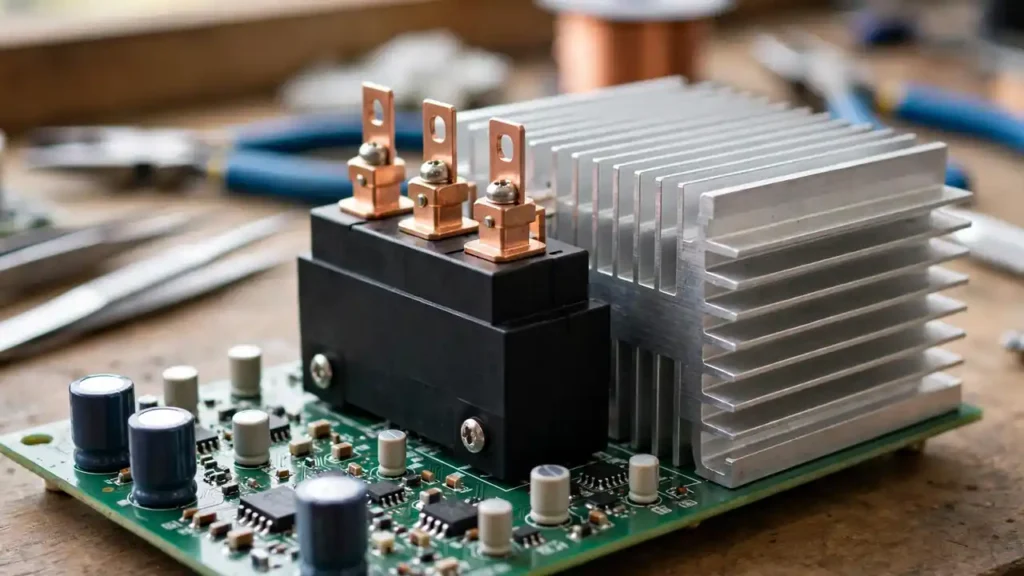
| IGBT, from the IGBTs range | Marking, weight, and pins | Clean moulding, sharp edges, even pins, and a marking that matches the datasheet | Rough moulding, rounded edges, or a marking that wipes off | Do not fit it. A weak IGBT can take out the whole output stage. |
| Electrolytic capacitor | Surface and meter reading | Flat, clean top, clear value and voltage printing, and a reading close to a known-good part of the same value | Bulged or tilted top, faded printing, or a reading far from the known-good part | Do not fit it. A weak capacitor stresses every part around it. |
| Control board or system card | PCB number match | The PCB number, revision, connectors, and layout match your old board exactly | Same size but a different PCB number, or connectors that do not line up | Do not fit it. Read our system card guide before you order a card. |
A MOSFET deserves a special note. Our multimeter guide shows the full test: the body diode test, the gate isolation test, and the switch test. Use it for check 7. But remember its honest limit. A meter test finds clear faults. It does not prove every detail inside a part. A part that passes all three meter tests can still be a remarked or recycled part. That is why checks 1 to 6 come first. The meter is the last check, not the only check.
A capacitor deserves a note too. Many bad capacitors show no bulge at all. Heat dries the inside slowly, and the part looks fine from outside. That is why check 7 matters for capacitors: compare with a known-good part of the same value, on the same meter. A reading far from the known-good part is a fail, even if the part looks perfect.
Note: One warning about solvent tests. Some guides suggest rubbing a part with acetone to see if the marking comes off. Treat this with care. Solvent can remove marking from a genuine part too, and a clean result does not prove a part is genuine. If you ever use a solvent check, use it only on a spare sample you can afford to spoil, never on the only part you plan to fit, and never as your only check.
What should you do when a part fails a check?
First, do not fit it. Do not fit it "just to test." A suspect part on a live board can burn the board, the parts next to it, and sometimes the new part itself. Put the failed part in a separate bag or box, away from your good stock, and mark it as suspect. A failed part that falls back into good stock will be fitted one day by mistake.
Second, check the board, not just the part. A fake part is one cause of failure, but a weak driver circuit, a bad fan, or a loose heatsink can kill a genuine part too. Our guide on why IGBTs burn explains how a driver fault or poor cooling kills a new part again and again. If parts keep failing in the same place, look for the cause on the board before you fit anything new.
Third, keep your old part and your notes. Write down which check failed and what you saw. A photo of the marking and the pins helps a lot. If you bought the part from a seller, that note is what you show them. If you are unsure, take the part, the old part, and your photos to a repair technician before you order again.
Fourth, order the replacement by full part number, from a product page that shows the full specs. Do not order by package shape alone. Two parts in the same package can have very different ratings, and a lower-rated part will fail early under load.
How do you buy so these checks rarely fail?
The best check is the one you never need, because the part came from trusted stock. Buy the full part number, not a short name. Read the product page. Check that the ratings, the package, and the pin order match your old part and its datasheet. Check the live page for current availability before you order, because availability can change. Check the live price on the website, not a price quoted from memory.
SunTech Mall stocks original solar inverter and UPS spare parts, and our own repair centre fits the same stock we sell. That matters, because a seller who fits its own parts learns fast which stock is good. For the wider sourcing story, including how to judge a seller and a market stall, read our Peshawar spare parts guide. This checklist is the bench half of that guide. Use both: the Peshawar guide helps you choose where to buy, and this checklist helps you check what arrives.
Frequently Asked Questions
Can one check prove a part is genuine?
No. No single bench check proves a part is genuine. A part that passes the meter test can still be remarked or recycled. Use all eight checks together. If a repair is critical and a part keeps failing checks, buy from trusted stock instead of testing harder.
My part looks new. Can it still be fake?
Yes. A recycled part is cleaned and re-tinned to look new. A remarked part gets a new coating and a new number. New looks prove nothing on their own. Check the marking, the surface, the pins, and the size against a known-good part.
What is the fastest check on a busy bench?
Compare with a known-good part. Same part number, same light, side by side. Marking, surface, pins, and size differences show up in one minute. Then run the meter test. That pair of steps catches most bad parts before they reach a board.
Should I use an acetone rub test on every part?
No. A solvent rub can damage a genuine part, and a clean result does not prove a part is genuine. Use it only on a spare sample you can spoil, never as your only check, and never on the only part you plan to fit.
What if a part passes all eight checks but still fails on the board?
Then the cause may be on the board, not in the part. Check the driver circuit, the cooling, the heatsink, and the load. Check the parts around the failed one too. A fault that kills one part often damages its neighbours. Ask a trained technician to look at the board before you fit another part.
Is a cheap part always fake?
No. A fair deal is not a warning on its own. The warning is a deal far below the normal market level, combined with vague specs, no clear part number, or no datasheet match. Judge the part and the seller story together, not the deal alone.
Related SunTech Mall Guides
If your inverter shows a fault code, read Inverex Nitrox Fault Codes 2026. To test power switches before you replace them, read How to Test a MOSFET With a Multimeter 2026. If a power part keeps burning, read Why an IGBT Keeps Burning. If your system card needs changing, read When to Replace a Hybrid Inverter System Card. For the wider sourcing story behind this checklist, read Solar Inverter Spare Parts in Peshawar.
Final Thoughts
A fake part rarely announces itself. It looks right, it fits, and it may even work for a short time. The damage comes later, when it fails under load and takes good parts with it. The eight checks in this guide stop that story before it starts. Read the full number. Look at the marking, the surface, and the pins. Compare size with a known-good part. Check the date code. Test with a meter. Judge the seller story. If any check fails, do not fit the part.
One clear next step: Before you fit your next power switch, photograph its marking and its pins next to a known-good part, run the body diode and gate tests from our multimeter guide, and check the live page for the matching part. If you need a genuine power MOSFET for inverter repair, you can see that exact part here: HY3215 N Channel MOSFET TO-247. Check the live price on the website. Still unsure about a part in your hand? Contact SunTech Mall through the website, or reach us on WhatsApp at 0306-2244820 with photos of the marking and the pins, and our team will help you check the part before you fit it. Do not fit a suspect part to test it.
Published: 2 November 2026 | Updated: 2 November 2026 | SunTech Mall — Charsadda/Tangi Office, Tangi, Charsadda, Khyber Pakhtunkhwa
Sources: Remarked and recycled part definitions from the ERAI glossary (ERAI Glossary) and ERAI on refurbished versus remarked parts (ERAI Blog); inspection stages and marking permanency checks from the SMTA paper on counterfeit detection (Methods Used in the Detection of Counterfeit Electronic Components); MOSFET test steps from our own guide (How to Test a MOSFET With a Multimeter 2026); HY3215 and NCEP 85T16 ratings from their own live SunTech Mall product pages (HY3215, NCEP 85T16).