Lithium Battery 48V Setup 2026: Pair It With Your Inverter the Right Way
Published on 9 November 2026. Updated on 9 November 2026. A 48V lithium battery setup works when three things match: your inverter is a real 48V inverter, your battery voltage is 48V,…

Published on 9 November 2026. Updated on 9 November 2026.
A 48V lithium battery setup works when three things match: your inverter is a real 48V inverter, your battery voltage is 48V, and your charging settings follow the battery maker's manual. Check those three first.
In This Guide
You bought a lithium battery, or you plan to buy one. Now you want it to work well with your home solar inverter. This guide shows you how to pair the two.
Many people rush this step. They connect a battery that looks right, but the voltage is wrong, or the charging settings are copied from an old lead-acid battery. Then the inverter shows a fault, the battery stops early, or the backup time is far less than they hoped for. I have seen this happen in repair shops again and again. Most of the time the fix was simple.
You can avoid all of that. This guide walks you through each check in plain words. By the end, you will know how to check your inverter voltage, how much usable power your battery gives, what the BMS does, how to set charging, and how to add a second battery. If you are still choosing between battery types, read our lithium battery vs tubular battery guide first.
Trust nudge: This guide comes from SunTech Mall, a solar inverter spare parts store in Pakistan that also repairs inverters and UPS systems every day. The checks below are the same ones our repair team uses.
What Does a 48V Lithium Battery Setup Actually Mean? — the three parts of a setup Is My Inverter Really a 48V Inverter? — check before you buy How Much Usable Power Do I Get From a 48V Battery? — the simple maths What Is the BMS, and Why Does Its Current Rating Matter? — the small guard inside How Do I Set the Charging Settings the Right Way? — the settings that protect it Does My Battery Talk to My Inverter? — the CAN and RS485 check How Do I Connect the Cables Safely? — thick cables, right lugs, right order Can I Add a Second Battery Later? — the parallel rules What Mistakes Ruin a 48V Setup? — the five errors to avoid How Do I Check the Setup Is Working? — the first-day checks
What Does a 48V Lithium Battery Setup Actually Mean?
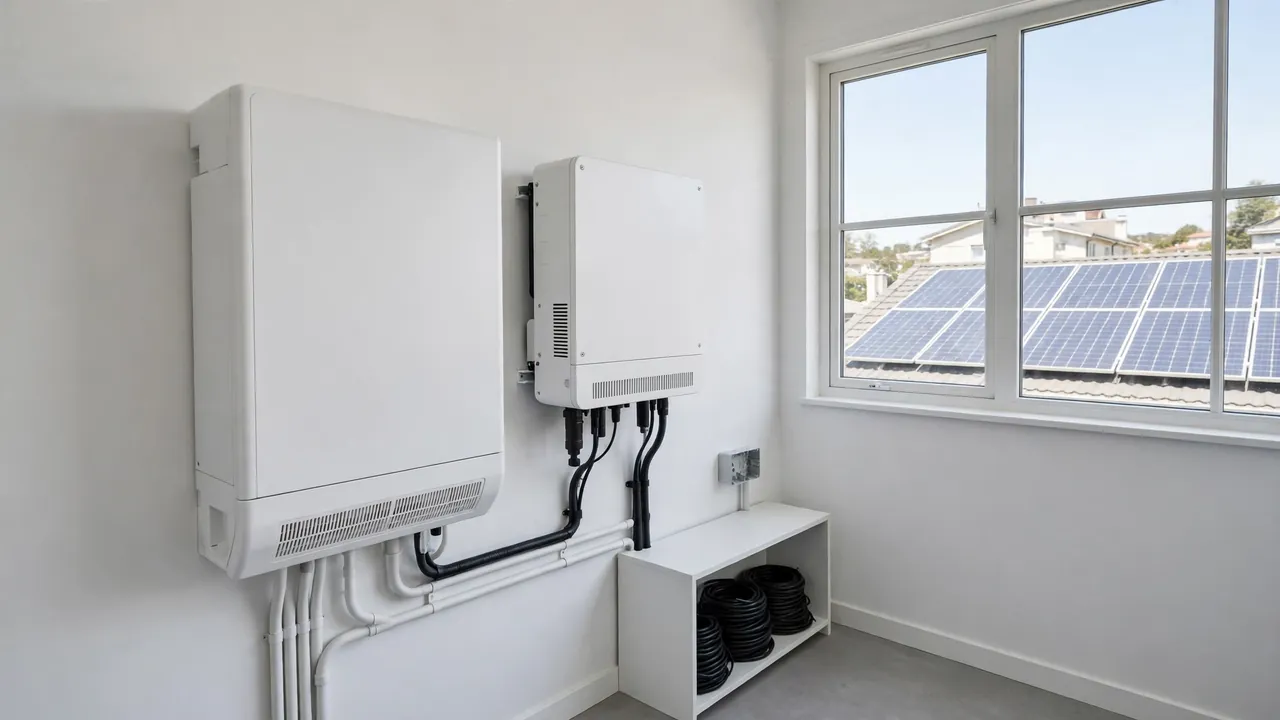
A 48V lithium battery setup has three main parts: the battery stores power, the inverter turns it into the 230V power your home uses, and the cables and settings join the two together and tell the inverter how to charge the battery.
The number 48V is the key: it is the voltage the inverter expects from the battery. A 48V inverter needs a 48V battery. A 24V battery will not do the job, even if it is also lithium, also new, and the same size. Voltage is the first thing that must match. Forcing the wrong voltage can harm the inverter, the battery, or both.
Note: A lithium battery is not the same as a lead-acid or tubular battery. It charges in a different way, and it has a BMS inside. Never copy old lead-acid charging settings onto a lithium battery.
Is My Inverter Really a 48V Inverter?
Before you buy a battery, check your inverter. This one step saves more money and trouble than any other.
Look at the sticker on the side of your inverter, or open the inverter manual. Find the words battery voltage or DC input voltage. If it says 48V, your inverter is a 48V inverter. If it says 24V or 12V, it is not.
Two well-known 48V home inverters, both common in Pakistani homes, are the Fronus PV 7200 and the Inverex Veyron II 6KW. To compare them, read our Fronus PV 7200 vs Veyron II 6KW guide. If you already own one, see the Fronus PV 7200 error codes guide and the Veyron II 6KW fault codes guide.
Bonus Tip: Take a clear photo of your inverter sticker and keep it on your phone. When you buy a battery or ask a shop for help, show that photo. It stops wrong advice before it starts.
If your inverter is not 48V, do not try to fix the gap with a different battery. You need an inverter that matches the battery, or a battery that matches the inverter.
How Much Usable Power Do I Get From a 48V Battery?
Battery size is written in two ways: Ah (amp-hours) and kWh (kilowatt-hours). The kWh number tells you how much energy the battery can hold. The bigger the kWh, the longer your backup time.
Here is a real example. The Inverex Power Wall 48V 100Ah 5.1kWh battery is a 48V LiFePO4 battery with 100Ah capacity and 5.1kWh of stored energy. The maker says it has a built-in smart BMS and more than 6,000 life cycles, and is fully compatible with Inverex inverters.
But the rated kWh is not the same as the usable kWh. Every battery keeps a small part of its energy in reserve. The part you can actually use is called the usable energy. To find it, check the battery datasheet for the depth of discharge it allows, then use this sum: rated kWh times the allowed share equals usable kWh.
Take a 5.1kWh battery as a worked example. If the datasheet allows 90% use, the sum is 5.1 times 0.9, which is about 4.6kWh of usable energy. That is the energy you can plan your backup time around. Never guess this figure.
Now turn usable energy into backup time. Add up the watts of the things you want to run during a power cut: a fan, a few lights, a fridge, and a TV might add up to about 800 watts. Then divide usable energy by that load. With about 4.6kWh of usable energy and an 800-watt load, the sum is 4,600 divided by 800, which is about five and three-quarter hours. That is a rough plan. Real backup time also depends on the age of the battery and the room temperature.
The table below shows how usable energy changes with battery size.
| Battery size (rated) | Allowed use (example) | Usable energy | Rough backup at 800W load |
|---|---|---|---|
| 2.5kWh | 90% | About 2.3kWh | About 2 hours 50 minutes |
| 5.1kWh | 90% | About 4.6kWh | About 5 hours 45 minutes |
| 10.2kWh (two 5.1kWh units) | 90% | About 9.2kWh | About 11 hours 30 minutes |
Note: The 90% figure in this table is an example to show the maths. Always use the figure from your own battery manual or datasheet.
If your backup time feels too short, the answer is usually a bigger battery or a smaller load. Our guide on why a UPS battery drains fast explains the common causes of short backup time in plain words.
What Is the BMS, and Why Does Its Current Rating Matter?
Inside every lithium battery sits a small guard called the BMS, short for battery management system. You cannot see it, but it works all the time. It watches each cell, stops overcharging, stops deep discharge, and cuts power if something goes wrong.
The BMS also has a current limit. Current is the flow of power, measured in amps. When your home draws a lot of power, the battery must send a high current to the inverter. If that current goes past the BMS limit, the BMS will cut off to protect the battery, and your lights may go off even though the battery still has charge left. That is not a fault. That is the BMS doing its job.
Work out the current with one simple sum: take the watts your inverter must supply and divide by 48. For example, a 6,000-watt load at 48V needs about 125 amps, and a 3,000-watt load needs about 62 amps. These are rough sums for planning.
Your battery's BMS current limit must be higher than the highest current your home will draw. If you run a heavy load on a battery with a small BMS limit, the BMS will trip again and again. So before you buy, check the BMS continuous current in the battery datasheet or manual. If it is not listed, ask the seller in writing before you pay.
How Do I Set the Charging Settings the Right Way?
Charging settings tell the inverter how to fill the battery. Get them right, and the battery lasts for years. Get them wrong, and it ages fast.
Lithium batteries need lithium settings. Never copy the settings from an old lead-acid or tubular battery. Lead-acid settings use higher voltages and a stage called equalisation, which lithium batteries must never get. If your inverter has a battery type option, set it to lithium or LiFePO4, or to the user-defined mode.
Your battery manual lists the charging voltages the maker wants: the bulk or absorption voltage and the float voltage. Set them exactly as the manual says. If the manual gives a range, use the middle of that range. Do not raise the voltages to charge faster. It wears lithium cells out.
Also set the maximum charging current, the fastest the battery is allowed to charge. If your panels or the grid can push more current than the battery allows, the inverter must limit it.
Note: If your inverter asks for a battery type and lithium is not listed, choose the user-defined or custom option and enter the voltages from the battery manual by hand. If you are not sure how, ask a trained installer. One wrong number here can cost you a battery.
After you set the voltages, watch the first full charge. The battery should charge in a steady way, and the inverter should stop at the set voltage. If the battery gets hot, if the inverter shows a fault, or if charging stops far too early, switch the system off and ask a trained installer to check the settings. If you are unsure about charger size, our guide on how many amperes your battery charger should be walks through it.
Does My Battery Talk to My Inverter?
Some batteries and inverters talk to each other through a small cable, using CAN or RS485. When they talk, the inverter knows the exact battery charge, temperature, and limits, and it can charge more safely. When they do not talk, the inverter must rely on voltage alone, which still works if the settings are right.
Here is the honest fact for this battery. The product page of the Inverex Power Wall 48V battery does not mention a CAN port or an RS485 port, so do not assume that this battery talks to your inverter. The maker does say the battery is fully compatible with Inverex inverters, so if you own an Inverex inverter, follow the Inverex manual for any communication cable and its settings.
The Fronus PV 7200 is a 48V inverter example in this guide. But its product page mentions no communication protocol and no specific battery model, so it must never be used as a Power Wall communication-pairing example. If you own a Fronus inverter, treat the battery as a voltage-based setup: set the charging voltages from the battery manual, and check the inverter manual or datasheet to see whether it supports battery communication at all.
Note: Where a protocol fact is not verified, this guide will not claim it. Check the inverter manual or datasheet.
If your inverter and battery do talk, use the cable and port the manuals name, and set the inverter to the battery protocol the manual lists. If they do not talk, that is fine: many home setups run well on voltage settings alone. Just make sure the charging voltages are right.
How Do I Connect the Cables Safely?
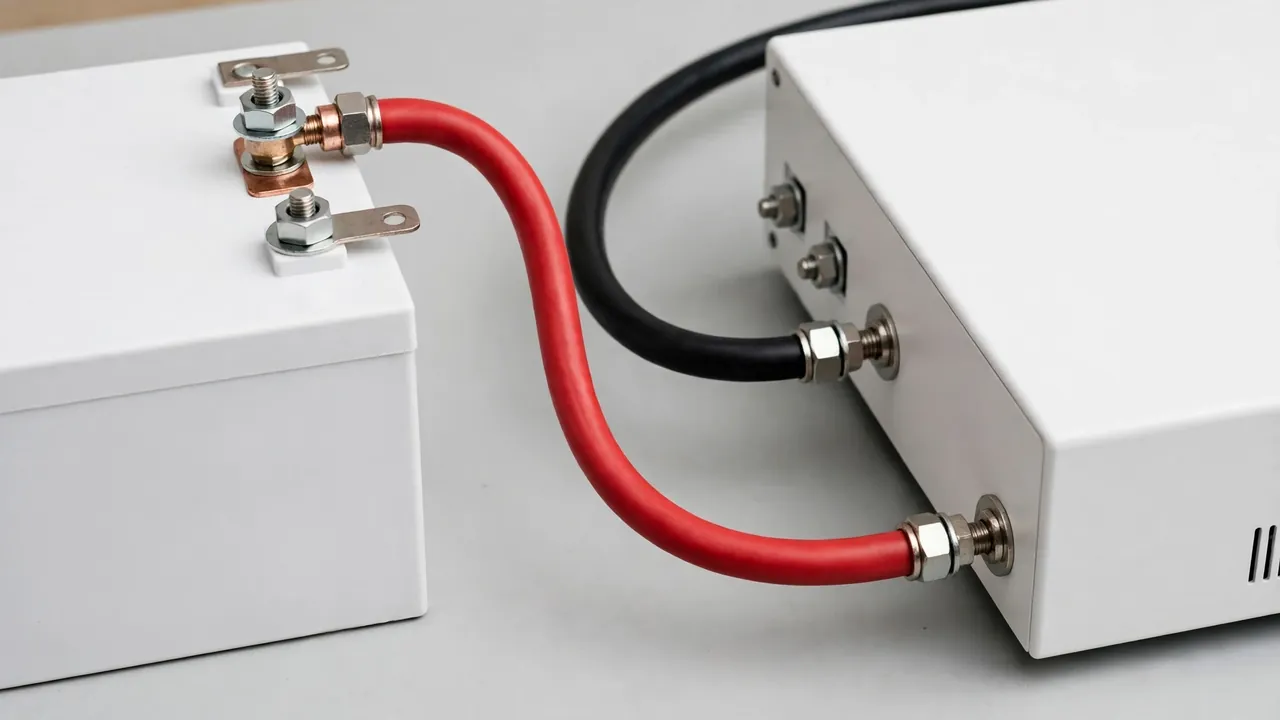
Cables carry the full power of the battery, so they must be thick, short, and tight. Thin cables get hot, waste power, and can melt. Loose connections spark and heat up.
First, switch everything off: the inverter, the solar panels as the manual says, and the battery switch. Never work on live battery cables. A 48V battery can push a very high current, and a short circuit can cause serious burns and fire.
Second, use the cable size the battery and inverter manuals ask for. Thick battery cables with proper lugs are part of the setup, not a luxury. For cable lugs, see our 25mm cable lugs for solar and battery page, and match the lug size to the cable size your manuals ask for.
Third, connect red to positive and black to negative. Reversed polarity is one of the most common and most costly mistakes in battery work. Check the marks twice before you tighten anything. Red goes to the plus sign. Black goes to the minus sign.
Fourth, tighten every connection firmly, and check that no loose copper strands stick out. A loose lug heats up under load, and heat is the first sign of a bad connection. After the first day of use, a trained installer can check the connections again.
Note: Never open the inverter case to connect battery cables inside it. Capacitors inside the inverter hold charge even after the inverter is switched off and unplugged. Opening the case can give you a dangerous shock. Battery and cable work should be done by a trained installer.
Can I Add a Second Battery Later?
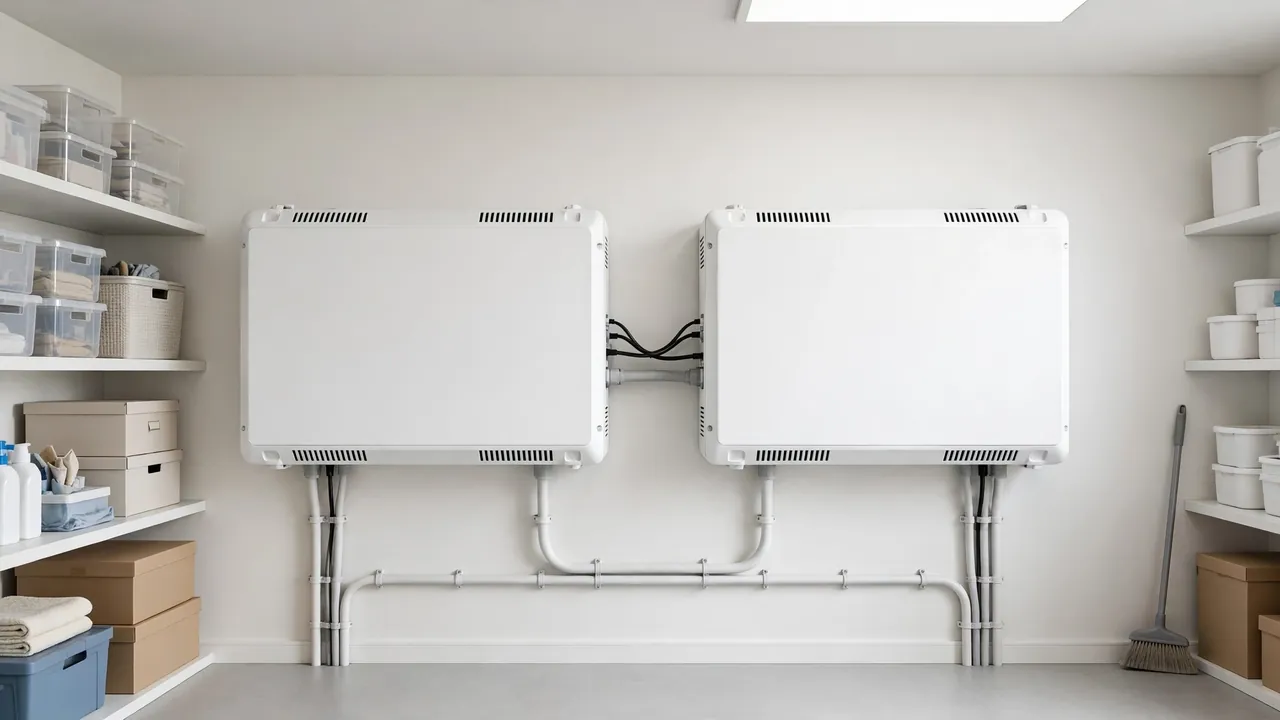
Yes, in many cases you can. Adding a second battery is called parallel connection, and it doubles your stored energy: two 5.1kWh batteries in parallel give you about 10.2kWh of rated energy. But parallel only works when you follow the rules.
The first rule is that both batteries must be the same model: same maker, same voltage, same capacity, same BMS. Two different batteries in parallel will charge and discharge at different speeds, and one will age faster.
The second rule is that both batteries should be the same age. A new battery and an old battery are not equal partners: the old one has less capacity left, and it will drag the new one down. Try to buy the second battery soon after the first, not years later.
The third rule is to charge both batteries to the same level before you join them. If one battery is full and the other is empty, a large current will rush from one to the other the moment you connect them, and that rush can trip the BMS or harm the cells. Charge each one fully on its own first, then connect them.
The fourth rule is to check the maximum number the maker allows in parallel: some allow two, some allow more, and some allow none at all. That number is written in the battery manual or datasheet. Never exceed it. If your manual does not give a number, ask the maker or seller in writing first.
Note: Parallel means plus to plus and minus to minus. That keeps the voltage at 48V and adds the capacity. Never connect batteries in series for a 48V inverter unless the battery manual tells you to. Series adds voltage, and the wrong voltage can destroy the inverter.
When the second battery is in place, set the charging current for the pair as the manual says, and watch the first charge. Both batteries should charge together and stay at similar levels. If one is always far ahead, switch off and ask a trained installer to check the wiring.
What Mistakes Ruin a 48V Setup?
Most failed setups fail for a few reasons. Our repair team sees the same five errors again and again.
The first mistake is the wrong voltage. Here is a real example. The Fronus LifePO4 Platinum 2.5kWh battery is a lithium battery, and its name sounds like it could suit any solar setup. But its output is 25.6V, not 48V — a 24V-class battery. If you connect it to a 48V inverter, the setup will not work, and you may harm the inverter or the battery. Always read the voltage on the battery sticker, not just the brand name.
The second mistake is mixing old and new batteries. An old battery has less capacity and higher resistance than a new one. Put them in parallel, and the old one limits the pair: the new battery cannot give its full power, and the old battery wears out even faster. If you must replace a battery in a pair, replace both, or check the maker manual to see whether mixing ages is allowed. In most cases, it is not.
The third mistake is mixing lead-acid with lithium. These two types charge in different ways and at different voltages. They must never share one inverter or one charging setup. If you are moving from lead-acid to lithium, remove the old batteries fully, change the inverter settings to lithium, and then connect the new battery.
The fourth mistake is copying lead-acid charging settings onto a lithium battery. Lead-acid settings, and especially equalisation, do not suit lithium cells. Set the voltages from the lithium battery manual, not from memory and not from the old setup.
The fifth mistake is thin cables and loose lugs. A 48V setup can carry more than 100 amps. Thin cables heat up, waste power, and drop voltage. Loose lugs spark and melt. Use the cable size the manuals ask for, use proper lugs, and tighten every connection.
How Do I Check the Setup Is Working?
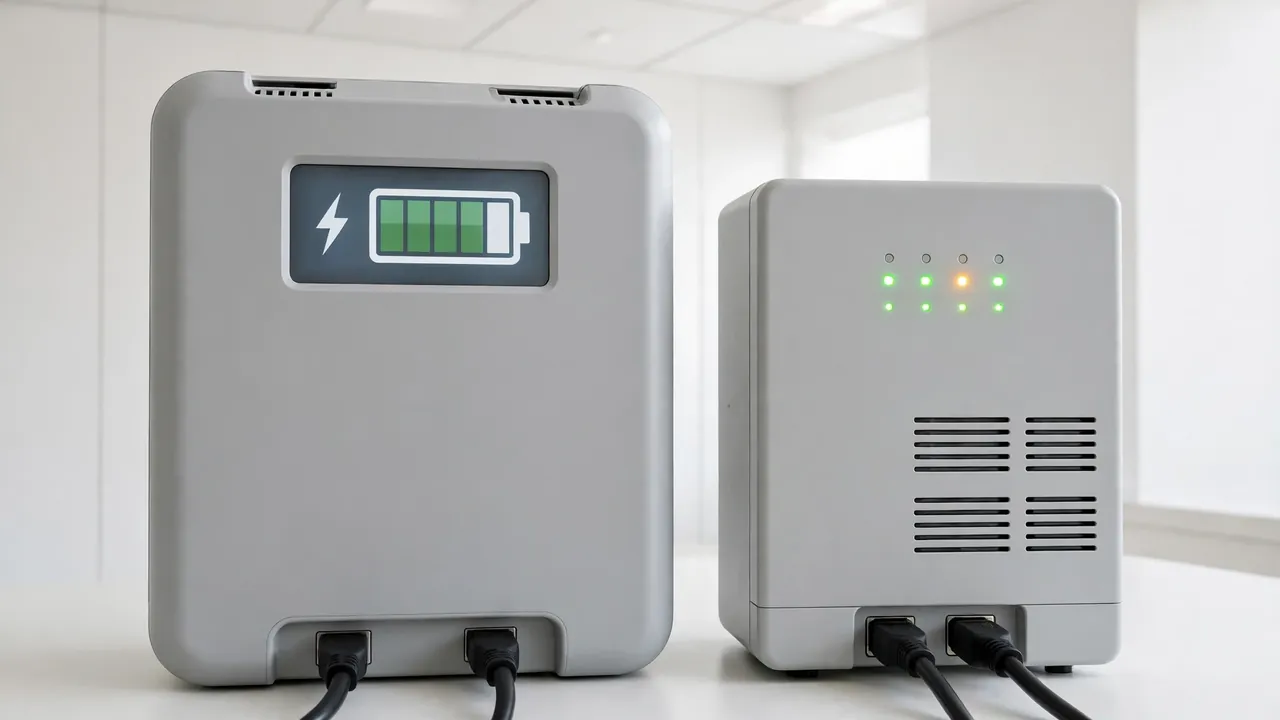
The setup is connected, the settings are in, and the switch is on. Now check it. These checks take one day, and they tell you whether the pairing is right. If the inverter will not turn on at all, read our guide on why a solar inverter does not turn on first.
- Check the battery voltage on the display. The display should show a voltage near 48V class, rising while charging and steady while resting. If the number looks far off, switch off and re-check the wiring.
- Watch the first full charge. The battery should charge in a steady way and stop at the set voltage. If it stops far too early, the settings or the BMS limit may be wrong.
- Run a normal load on backup. Switch off the grid supply as the manual says, run your usual fans and lights, and watch the time. Compare the backup time with the rough sum you worked out earlier.
- Feel the cables and lugs. After an hour of use, the cables should feel cool or only slightly warm. A hot cable or a hot lug means a loose connection or a cable that is too thin. Switch off and get it checked. Our guide on solar inverter overheating explains what heat means.
- Listen and look. The inverter fan may run while charging, and that is normal. But a burning smell, a loud buzz, or a fault light is not normal. Switch off and ask a trained installer.
- Check the battery level the next morning. After a night of backup use, the battery should still have charge left for the morning. If it is empty every morning, your load may be too big.
- Write down what you see. Note the voltage, the backup time, and any fault code. That note helps any installer help you fast.
If all seven checks pass, your setup is working as it should. Check it again after one week, then monthly.
If you need spare parts, our electronic parts section lists the parts SunTech Mall keeps for solar inverters and UPS systems.
Frequently Asked Questions
Can I use any lithium battery with a 48V inverter?
No. The battery voltage must be 48V, and the charging settings must follow the battery manual. The BMS current limit must also be higher than the highest current your home will draw. A battery with the wrong voltage, or with settings copied from a lead-acid battery, will not work well and can be harmed. Check the battery sticker and the datasheet before you buy.
How many 48V lithium batteries do I need for my home?
It depends on your load and how many hours of backup you want. Start with your usable energy, then divide by your load. One 5.1kWh battery gives about 4.6kWh of usable energy in the example in this guide, which runs an 800-watt load for about five and three-quarter hours. If you need more time, add a second battery of the same model, or reduce the load.
Can I connect a lithium battery to my old lead-acid inverter settings?
No. Lithium batteries need lithium charging settings. Lead-acid settings use different voltages and an equalisation stage that lithium batteries must never get. Change the inverter battery type to lithium or LiFePO4, or to the user-defined mode, and enter the voltages from the lithium battery manual.
Does my 48V lithium battery need CAN or RS485 communication with the inverter?
Not always. Many home setups run well on voltage settings alone, as long as the charging voltages are set from the battery manual. The Inverex Power Wall product page does not mention a CAN or RS485 port, so do not assume it talks to your inverter. For an Inverex inverter, follow the Inverex manual.
Can I add a second lithium battery next year?
Only if the battery maker allows it and the rules are followed. The second battery must be the same model, charged to the same level before joining, and within the maximum parallel number in the manual.
Is it safe to install a 48V lithium battery myself?
Battery and cable work should be done by a trained installer. A 48V battery can push a very high current, and a wrong connection can cause burns or fire. Never open the inverter case, because capacitors inside hold charge even after the inverter is switched off and unplugged. Do the planning and checks yourself, but let a trained installer make the connections and set the voltages.
Final Thoughts
A 48V lithium battery setup is not hard, but it is not a job to rush. Check the inverter voltage first, and the battery voltage on the sticker. Work out your usable energy with the sums in this guide. Check the BMS current limit. Set the charging voltages from the battery manual, never from an old lead-acid setup. Check whether your battery and inverter talk to each other. Use thick cables and tight connections. When you add a second battery, keep it the same model, the same age, and the same charge level.
Follow those steps, and your setup will be quiet, cool, and steady, with backup time to match your plan. If something feels wrong, stop, switch off, and ask a trained installer.
Ready to pair your inverter the right way? The Inverex Power Wall 48V 100Ah 5.1kWh battery is a 48V LiFePO4 battery with a built-in smart BMS, more than 6,000 life cycles, and full compatibility with Inverex inverters — check the live price on the product page. Questions about pairing? Message SunTech Mall on WhatsApp at 0306-2244820, tell us your inverter model, and we will help you check the match before you buy.
Published: 9 November 2026 | Updated: 9 November 2026