
Battery Cables and Lugs 2026: Why a Thin Cable Trips Your Inverter
Published on 16 November 2026. Updated on 16 November 2026. A thin battery cable trips your inverter because it cannot carry the full current your inverter draws. The cable heats up, voltage…

Published on 16 November 2026. Updated on 16 November 2026.
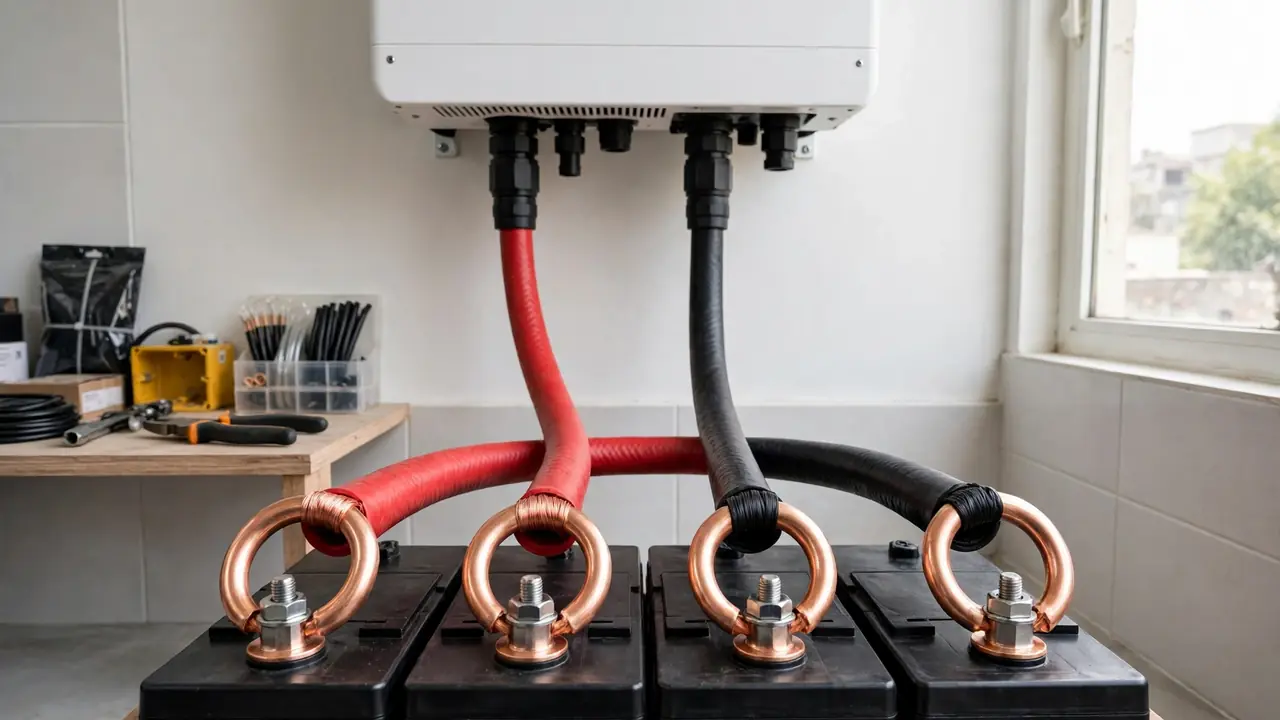
A thin battery cable trips your inverter because it cannot carry the full current your inverter draws. The cable heats up, voltage drops, and the inverter sees a low battery even when the battery is full. The fix is simple: use the right cable size and proper lugs that match.
In This Guide
Last month, a customer carried his inverter into our repair centre. It was almost new, but every evening it tripped and shut the house down. He was sure the inverter was faulty, but it was fine. The battery cables were thin, the lugs were loose, and one had turned dark from heat. We fitted thick cables with proper lugs, and the same inverter ran the whole evening without one trip.
That story is common in Pakistan. People spend good money on an inverter and a battery, then join them with the cheapest thin cable they can find. This guide shows you how to pick the right cable size and the right lug, in plain words, with one simple sum. By the end, you will know the current your inverter draws, the cable size that fits it, and how to spot a bad cable before it trips your inverter.
Trust nudge: This guide comes from SunTech Mall, a solar inverter spare parts store in Pakistan that also repairs inverters and UPS systems every day. The checks below are the same ones our repair team uses when a customer brings in an inverter that keeps tripping.
What Does a Battery Cable Actually Do? — the road power travels on Why Does a Thin Cable Trip Your Inverter? — voltage drop in plain words How Do I Work Out the Current My Inverter Draws? — one simple sum Which Cable Size Fits My Inverter? — the size table How Do I Pick the Right Lug? — match cable, stud, and metal How Do I Crimp a Lug the Right Way? — the joint that must not fail How Do I Check My Battery Cables in 6 Steps? — the quick check What Are the Warning Signs of a Bad Cable? — heat, smell, and trips When Should I Ask a Technician? — know when to stop
What Does a Battery Cable Actually Do?
A battery cable carries direct current, called DC, from your battery to your inverter. On a home solar system that current is very large: a 5,000-watt inverter on a 48-volt battery pulls more than 100 amps through two cables.
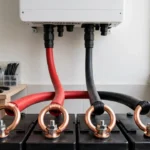
Think of the cable as a road: the copper core is the road surface, and its width is measured in mm². A thicker cable carries more current. The size is written on the insulation, and Victron Energy's wiring guide says to read that marking, because thick insulation can mislead you. The lug is the metal ring at the end of the cable: it joins the cable to the battery or inverter terminal, and a bolt holds it tight. Our 48V lithium battery setup guide shows the same point: thick cables with proper lugs are part of the setup, not a luxury.
Why Does a Thin Cable Trip Your Inverter?
Every cable has a small amount of resistance. Resistance fights the flow of current, and that fight turns some power into heat. The thinner the cable, the higher the resistance. The power that turns into heat never reaches your inverter. That lost power is the voltage drop: the voltage at the inverter is lower than the voltage at the battery.
Here is what that means. Your battery is full at 48 volts. Your inverter draws a heavy load. The thin cable eats 2 or 3 volts on the way, so the inverter sees only 45 or 46 volts and thinks the battery is low. It shows a low-battery warning, or it trips, even though the battery is full. The battery was never the problem. The cable was. Victron Energy's wiring guide says to aim for a voltage drop below 2.5 percent: at 2.5 percent, a 1,000-watt load makes 25 watts of heat in the cable. A thin cable makes far more heat, so the insulation softens and the lug turns dark. Blue Sea Systems uses the same idea in its cable sizing chart: critical circuits get a 3 percent voltage-drop budget, and other circuits get 10 percent.
The trip is not the inverter being weak. It is the inverter protecting itself from a voltage it cannot trust. Fix the cable, and the same inverter runs the same load without a trip. If your inverter shows faults that look like a dead battery, read our guide on why a solar inverter does not turn on first.
How Do I Work Out the Current My Inverter Draws?
You cannot pick a cable until you know the current your inverter draws. Current is the flow of power, measured in amps. The sum is one line: current in amps equals power in watts divided by battery voltage in volts.
A 5,000-watt load at 48 volts needs about 104 amps. The same 5,000 watts at 24 volts needs about 208 amps, and at 12 volts about 417 amps. The current doubles every time the voltage halves. That is why Victron Energy's wiring guide sets preferred upper limits of 3,000 VA at 12 volts, 5,000 VA at 24 volts, and 5,000 VA and up at 48 volts.
For example, a 3,000-watt inverter on a 24-volt battery draws about 125 amps, and a 4,000-watt inverter on a 24-volt battery, such as the Veyron II Premium 4KW in our Inverex Veyron II Premium 4KW guide, draws about 167 amps.
Note: Always use the full load your inverter must supply, not the small load you run most of the day. Size the cable for the heaviest evening, when the air conditioner, the fridge, and the water pump run together. Our home inverter size guide shows how to count that load. The charging current flows through the same cables too, so check it with our battery charger size guide as well.
Which Cable Size Fits My Inverter?
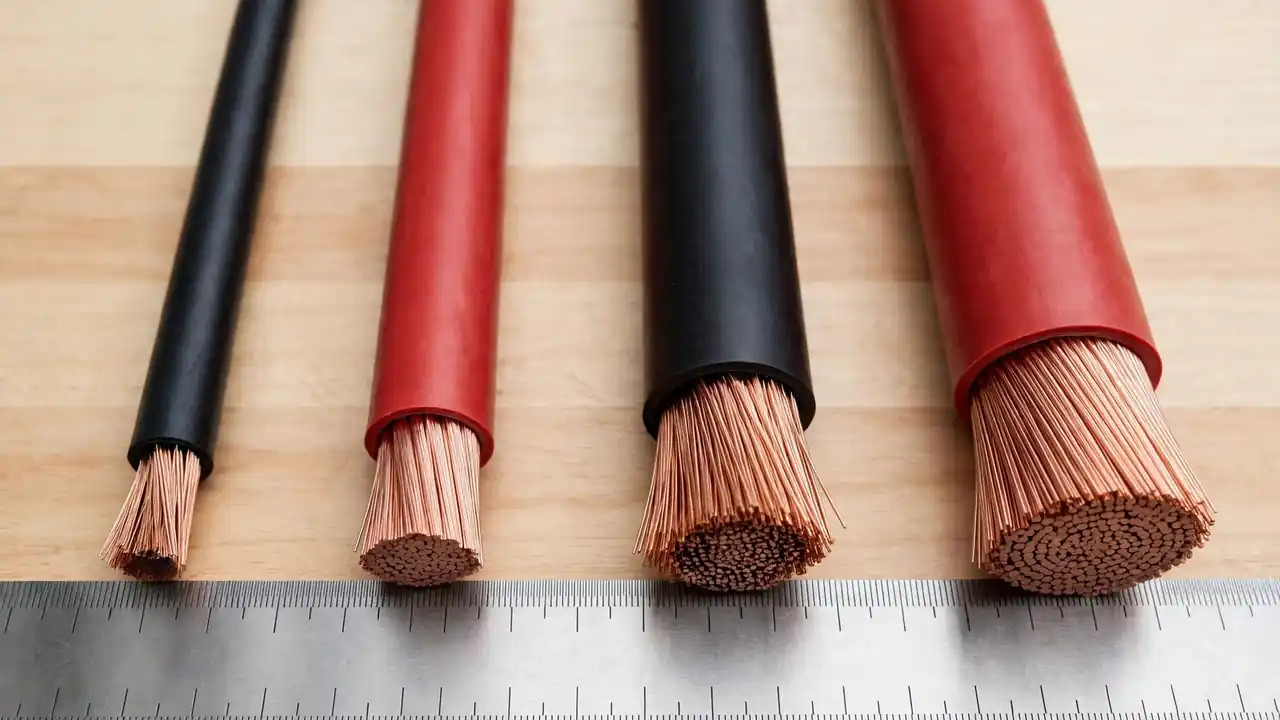
Now turn your current into a cable size. Victron Energy's wiring guide gives a quick rule of thumb: divide the current by 3, and the answer is the cable size in mm². A 200-amp current needs about 66 mm², so you pick the next standard size up, which is 70 mm². The table below follows the same guide, for a total cable length of up to 5 metres: the positive cable plus the negative cable together.
| Inverter power | Battery voltage | Current | Recommended cable (total length up to 5 m) |
|---|---|---|---|
| 1,000 W | 12 V | About 83 A | 35 mm² |
| 3,000 W | 24 V | About 125 A | 50 mm² |
| 3,000 W | 48 V | About 63 A | 25 mm² |
| 5,000 W | 48 V | About 104 A | 35 mm² |
| 6,000 W | 48 V | About 125 A | 50 mm² |
| 10,000 W | 48 V | About 208 A | 70 mm² |
Two rows sit right at the edge: the Victron table allows up to 105 amps on 35 mm² and up to 210 amps on 70 mm², so the 5,000-watt row at 104 amps and the 10,000-watt row at 208 amps only just fit. If your run is longer than 5 metres, or the cables sit in a hot room, step up one size: 50 mm² for the 5,000-watt system and 95 mm² for the 10,000-watt system.
Length matters as much as current, because the voltage drop grows with length. Keep the battery as close to the inverter as you can. If you cannot find one cable thick enough, use two side by side: two 35 mm² cables carry the same as one 70 mm² cable. Both must be the same size and length. Fit a fuse in the positive cable too, sized to the cable and the inverter manual.
Bonus Tip: Before you buy, measure the real cable run with a tape: from the battery terminal to the inverter terminal and back again. A run you guessed at 3 metres is often 5 metres once the cable goes around the battery box and up to the inverter.
How Do I Pick the Right Lug?
A lug must match two things at once: the cable size and the stud size. The stud is the bolt on the battery or inverter terminal, usually M6, M8, or M10. A lug made for 25 mm² cable will not hold a 35 mm² cable, and a lug with a 10 mm hole will sit loose on an 8 mm stud. Both make a weak joint that heats up.
Read the marking on the lug before you buy: a good lug shows its cable size and its hole size, for example 25-8 means 25 mm² cable on an 8 mm stud. For a 25 mm² cable, see our 25mm cable lugs for solar and battery page, and match the lug size to the cable size your manuals ask for. A copper lug is the standard choice, and a tinned copper lug fights rust in a damp room. Never use a steel lug on a battery cable: steel carries current badly and heats up fast.
The order of parts on the bolt matters too. Victron Energy's wiring guide says: washer, spring ring, then the nut, with the lug flat against the terminal surface. Never put a washer or a fuse between the lug and the surface, because anything in between adds resistance. The lug must sit flat and tight.
How Do I Crimp a Lug the Right Way?
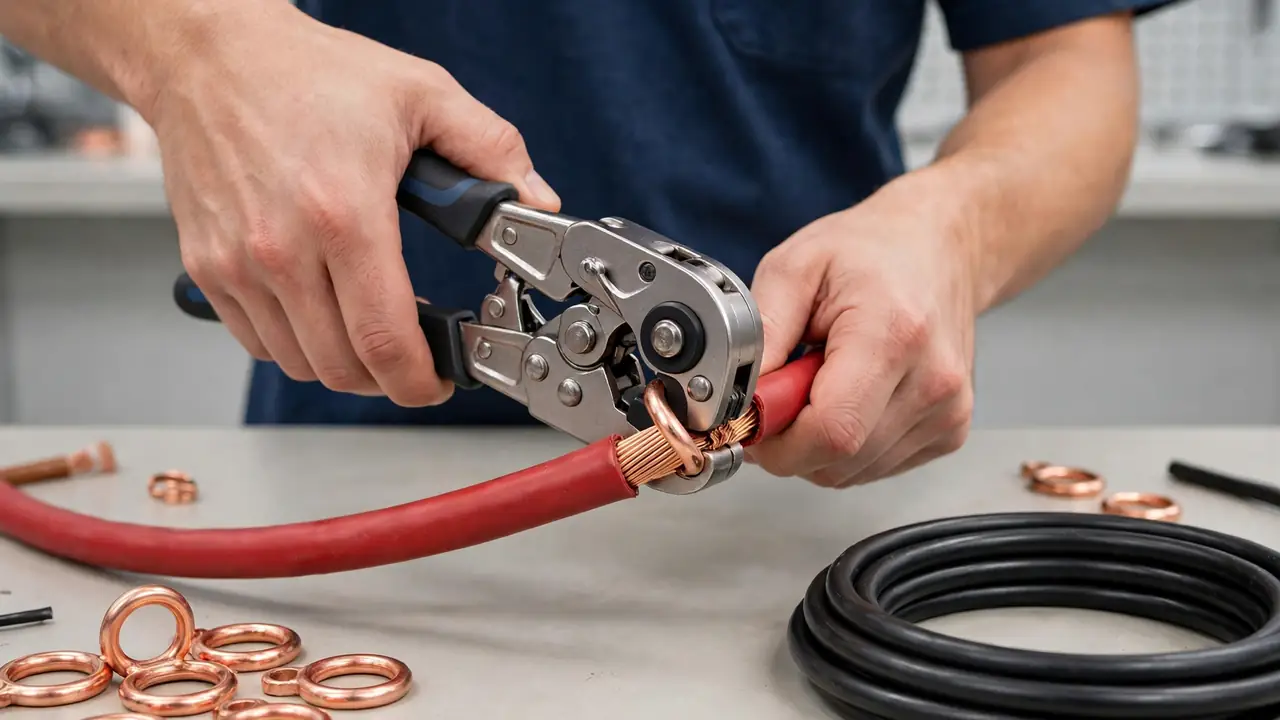
A lug is only as good as its crimp: the squeeze that joins the copper strands to the lug barrel. A bad crimp is a loose joint that heats up, sparks, and fails. The tool matters more than your strength. Victron Energy's wiring guide says to use a professional ratcheting crimping tool, because the ratchet makes sure the right pressure is applied. Pliers are not a crimping tool, and a hammer is not one either.
Strip the cable end so the bare copper fills the lug barrel fully, with no loose strands sticking out and no insulation pushed into the crimp. Slide the lug on until the copper reaches the end of the barrel. Put the lug in the right slot of the crimping tool and squeeze until the ratchet lets go on its own. After the crimp, give the wire a small tug: if the lug moves, the crimp was bad, so cut it off and crimp a new one. Then cover any bare metal with heat-shrink tube or insulation tape.
Never join a high-current lug with solder alone. Solder melts when the joint gets hot. A proper crimp is a cold, tight joint that stays strong when it warms up. If you have never crimped a thick cable before, practise on a short offcut first.
How Do I Check My Battery Cables in 6 Steps?
Run this check once a year, and any time your inverter starts tripping. It takes about fifteen minutes.
- Switch everything off first. Turn off the inverter and the battery switch, and wait a minute. Never touch battery cables while the system is live.
- Read the marking on each cable: the mm² number printed on the insulation. If it is worn off, ask a technician to check it.
- Work out your current and compare it with the table. Divide your inverter watts by your battery volts, then find your row above. If your cable is thinner than the table asks for, it is the wrong cable.
- Run the system at full load, switch it off, then touch the cables and lugs. Warm means trouble. Hot means stop using it until a technician has seen it.
- Look closely at every lug. A good lug is bright and tight. A bad lug is dark, blue-black, melted at the edge, or loose enough to wiggle. Any one of those signs means it must be replaced.
- Tighten what is loose, replace what is damaged, and write down what you found. Tighten each nut to the maker's torque, not by feel alone. If a lug is dark or melted, cut it off and crimp a new one. Keep a note of the cable sizes on your phone.
What Are the Warning Signs of a Bad Cable?
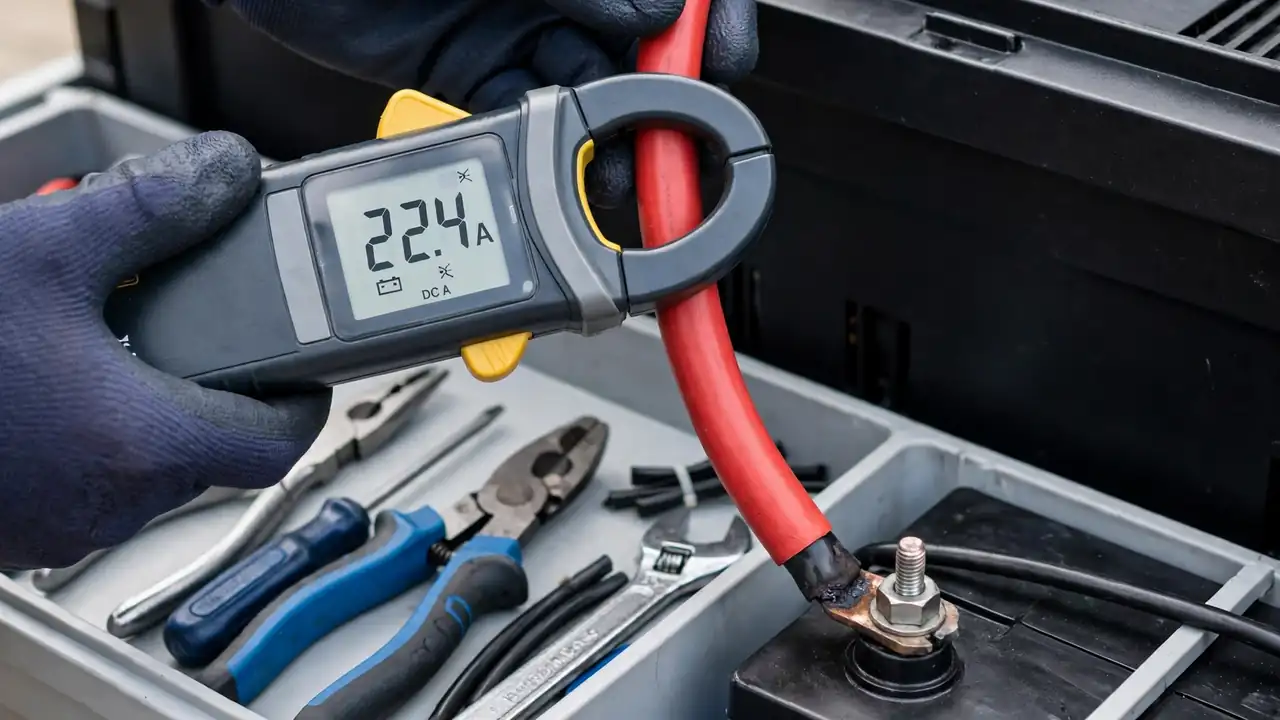
A bad cable talks to you before it fails. The first sign is a hot cable: after a full-load run, the cables should feel cool. If one cable feels warm, that joint has too much resistance. The second sign is a dark or melted lug: copper starts bright, and heat turns it dark brown, then blue-black. If you see that change, replace the lug and check the cable size against the table.
The third sign is a burnt smell near the battery or inverter. A hot joint smells like burnt plastic before you can see any damage. If you smell it, switch the system off and ask a technician to look. The fourth sign is the inverter tripping or showing a low-battery warning on a full battery. A thin cable drops the voltage on the way, so the inverter thinks the battery is low. If the battery reads full but the inverter disagrees, the cable is the first suspect. Our guide on why a solar inverter does not turn on covers the same outside checks.
The fifth sign is dimming lights when a big load starts. When the water pump or the air conditioner starts, the current jumps for a few seconds, and a thin cable drops even more voltage, so the lights dim and the fan slows. Victron Energy's wiring guide suggests one more check: run the system at full load and look at the cables with a thermal camera, which shows the hot spots at once.
When Should I Ask a Technician?
Most of this guide you can do yourself: work out the current, read the cable marking, and run the 6-step check. But some jobs belong to a technician. Ask one for any cable replacement you are not sure about, and for any work inside the inverter or on the distribution board. Ask one when your inverter keeps tripping even though the table says your cables are right: that usually means a hidden fault, such as a weak battery or a fault inside the inverter. Ask one when the same fault comes back twice, or when you smell burning, or when a lug looks melted. A repeat fault is never bad luck.
Note: Never work on live battery cables. Switch the inverter off, switch the battery off, and disconnect the cables before you touch them. A battery can push a very high current, and a short circuit can cause serious burns and fire. All wiring, earthing, and inside work must be done by a qualified electrician or a trained technician. If any step feels unsafe, stop and call one. A cable costs little. Your safety costs everything.
SunTech Mall runs its own inverter and UPS repair service centre in Pakistan. Bring your inverter and your cables there, or buy the parts and get your own technician to fit them. Bring your numbers with you: inverter watts, battery voltage, and cable size.
Frequently Asked Questions
What size cable do I need for a 5kW inverter?
It depends on your battery voltage. At 48 volts, a 5,000-watt inverter draws about 104 amps, so you need at least 35 mm² cable for a run of up to 5 metres, and 50 mm² is safer for a longer run or a hot room. At 24 volts, the same 5,000 watts draws about 208 amps, so you need 70 mm², or 95 mm² for margin. At 12 volts, the current is about 417 amps, so a 5,000-watt inverter belongs on 48 volts.
Can I use a 25mm cable for a 5kW 48V inverter?
No. A 25 mm² cable carries up to 75 amps, but a 5,000-watt inverter at 48 volts draws about 104 amps. The cable would run hot and trip the inverter. Use 35 mm² as the minimum, and 50 mm² for a long run or a hot room.
Why does my inverter show low battery when the battery is full?
The cable between the battery and the inverter is the most common cause. A thin or loose cable drops voltage on the way, so the inverter sees a lower voltage than the battery really has. Check the cable size against the table, feel the lugs after a full-load run, and look for a dark or loose lug. If the cables check out, read our guide on why a UPS battery drains fast for the other causes.
Can I join two thin cables instead of one thick cable?
Yes, in many cases you can. Victron Energy's wiring guide says two 35 mm² cables carry the same as one 70 mm² cable. Both must be the same size and length, and each one needs its own lug and tight connection. Check your local rules first, because some places ask for each cable to carry the full load on its own.
Should I solder a battery lug or crimp it?
Crimp it. Use a proper ratcheting crimping tool, and finish with the tug test: if the lug moves, the crimp was bad. Never join a high-current lug with solder alone.
Where can I buy battery cable lugs in Pakistan?
SunTech Mall stocks cable lugs for solar and battery work. The 25mm cable lugs for solar and battery page covers the common 25 mm² size, and the Solar Inverters section lists the inverters and batteries these cables serve. Check the live price on the website.
Final Thoughts
A battery cable is a small part with a big job. Get the size right, fit a matching lug, crimp it properly, and check it once a year.
So my request is this. Before you blame your inverter or your battery, look at the cables between them. Work out your current: watts divided by volts. Read the marking on the cable. Compare it with the table. If the cable is too thin, replace it, and fit proper lugs with a real crimping tool.
Ready to fix your cables? The 25mm cable lugs for solar and battery page covers the common 25 mm² size, and the Solar Inverters section at SunTech Mall lists the inverters and batteries these cables serve — check the live price on the website. Questions? Message SunTech Mall on WhatsApp at 0306-2244820 with your inverter watts and battery voltage, and we will help you check the size.
Published on 16 November 2026. Updated on 16 November 2026.
Sources: Victron Energy: Wiring Unlimited — DC Wiring ; Blue Sea Systems: Cable Sizing Selection Chart
Related Technical Guides
 Category:
General
Solar Inverter Repair Cost Guide 2026: What Each Fault Costs in Pakistan
Published on 17 November 2026. Updated on 17 November 2026. A small solar inverter repair in Pakistan usually costs roughly Rs 1,500…
 Category:
General
How Many kW Inverter for Home 2026: The Easy Load Calculation Method
Published on 15 November 2026. Updated on 15 November 2026. How many kW inverter for home do you need? Most Pakistani homes…
 Category:
General
SG3525 vs UC3845 PWM IC 2026: Which One Runs Your Inverter (and How to Pick the Right One)
Published on 14 November 2026. Updated on 14 November 2026. SG3525 is a voltage-mode PWM controller, and UC3845 is a current-mode PWM…